Any server or virtual server in your GIS that has an Analytics Agent installed can gather data and send it to the Hub.
You can install and connect as many Agents as you want to the hub.
If connecting to the Hub using HTTPS, the Hub requires a valid certificate for a successful connection.
To install the Analytics Agent:
1.Log in to a server on which you want to install an Agent. Launch the Analytics interface by opening a browser and entering the Hub's domain address: <host name or IP address of Hub server>/VertiGIS/Studio/Analytics.
The URL path was setup during the Hub installation and is modifiable.
2.Sign in to Analytics.
3.The VertiGIS Studio Analytics application opens. Click Settings.
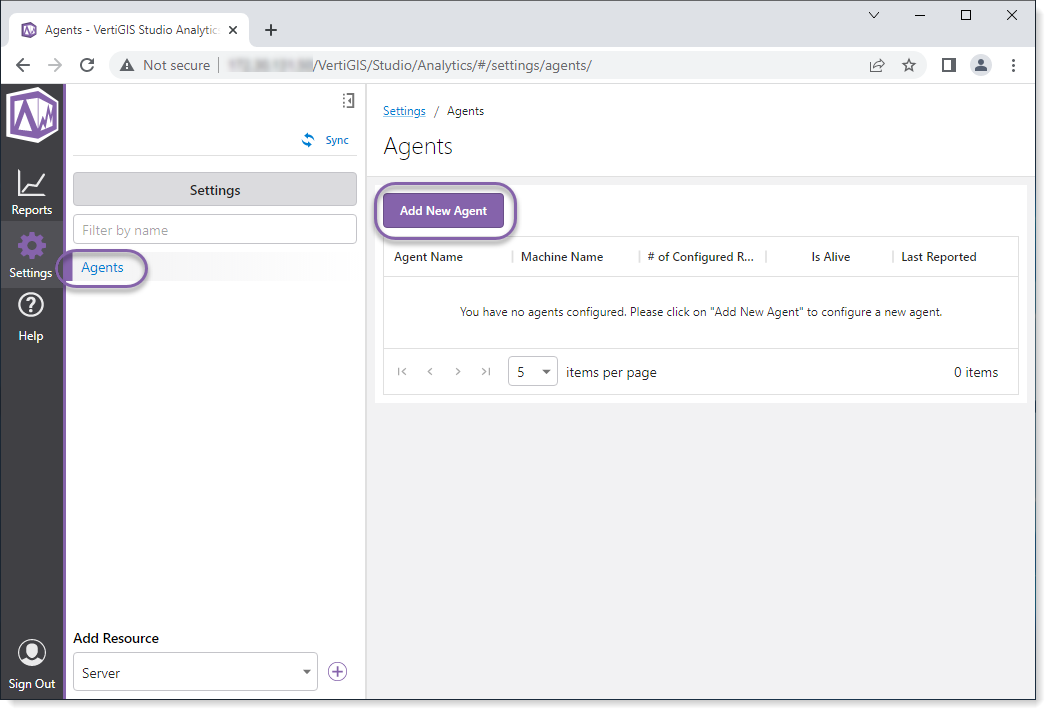
4.Click Agents > Add New Agent.
5.In the Add New Agent frame, read the instructions and click Download Agent Installer. Click Next.
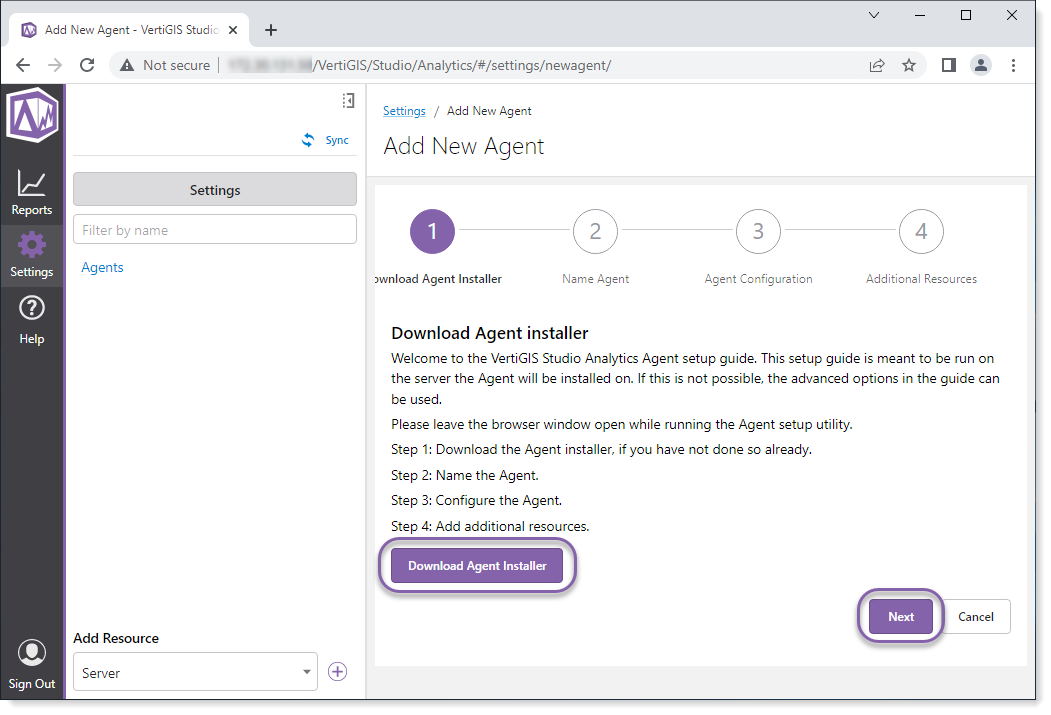
The Agent installer downloads to your user's Download directory.
7.Enter a name for this Agent. This name is the display name used in the Analytics interface.
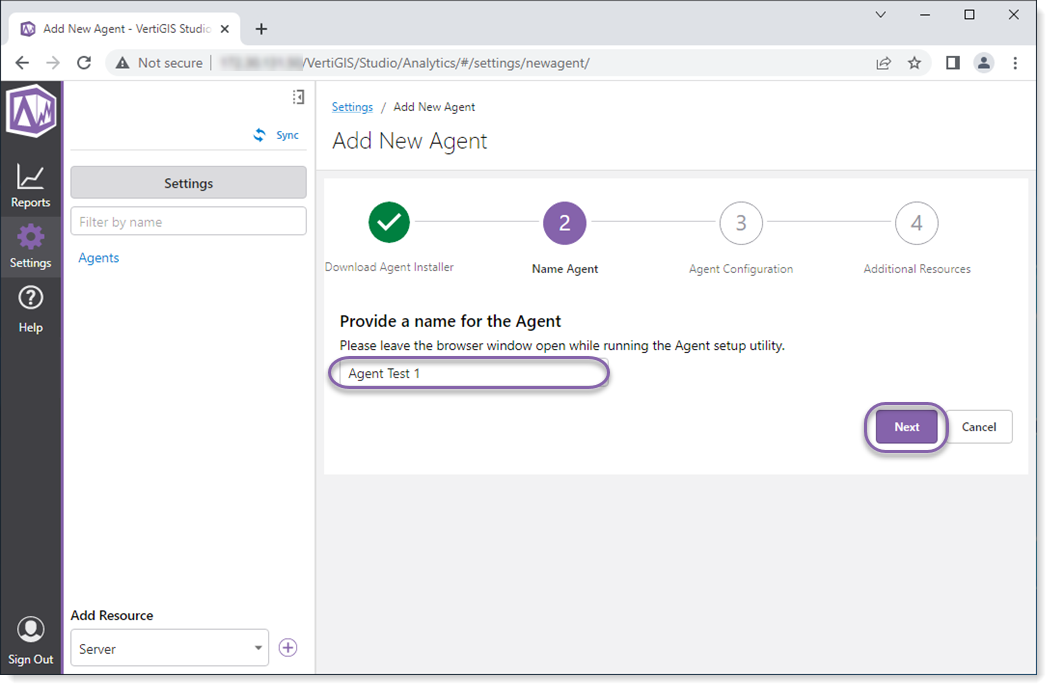
8.Click Next to configure the agent.
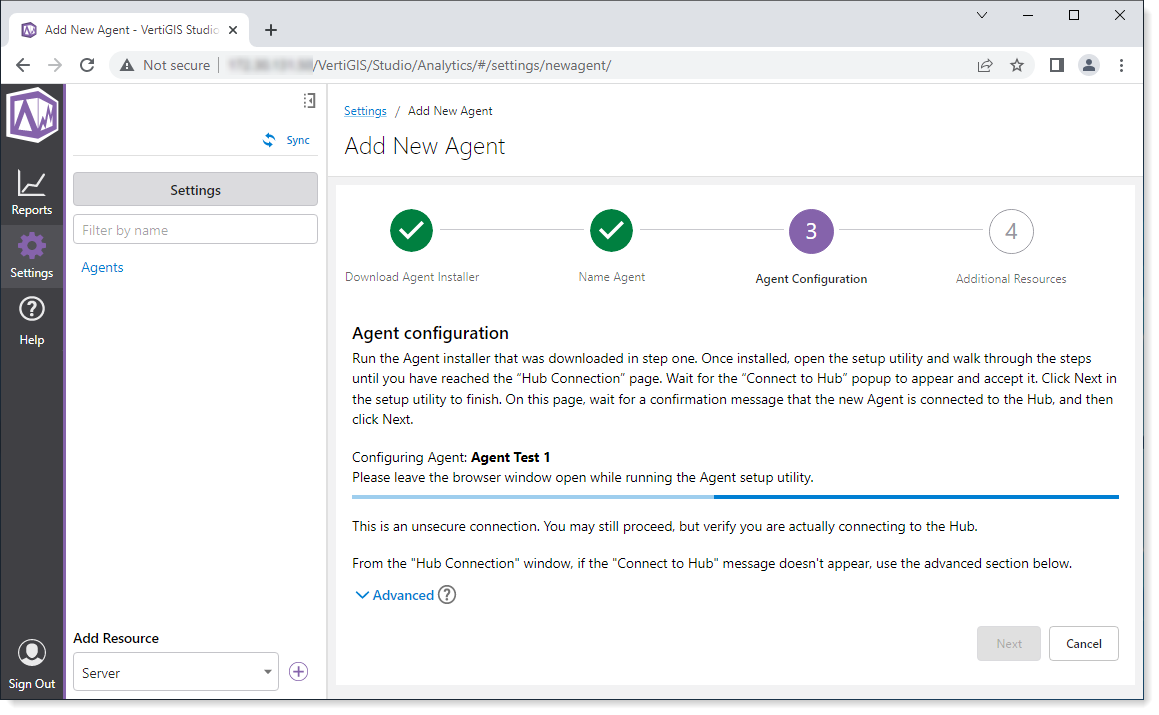
Keep the Agent Configuration window open while running the Agent Setup utility. The Analytics Hub must communicate with the Agent during setup.
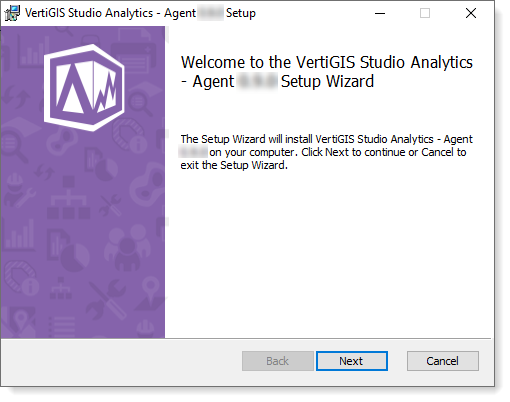
8.The Agent Setup wizard launches. Click Next.
9.Read the License Agreement, accept the terms, and click Next.
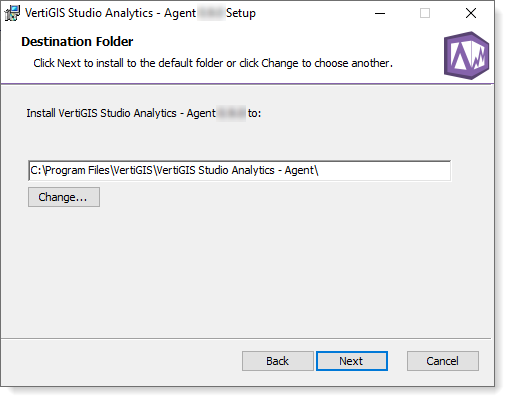
10.The default destination folder populates. Optionally, you can change the destination folder by clicking Change. When you are satisfied with the destination folder, click Next.
11.The Setup Wizard is ready to begin the install. Click Install.
12. Ensure the check box is enabled to launch the Agent Setup utility and click Finish.