Geocortex Viewer for HTML5 Translation
The HTML5 Viewer is designed to facilitate translation of the viewer's user interface text. To support translation, the user interface text for each library is located in two language files.
To translate the viewer, you make a copy of the language files you want to translate, name them with the appropriate language tag, and then translate the text in the files. When the viewer runs in a browser, the viewer detects the browser's language setting and looks up the text in the language file with the matching language tag. Each text item in a language file is assigned to a placeholder called a "key". The code for the HTML5 Viewer references the keys, not the text. When the viewer runs in a browser, the viewer looks up the key in the appropriate language file and displays the text assigned to that key.
Normally, you do not need to change the keys that are configured—you change the text, not the key. You use the default keys for all languages. For example, the key for the title of the I Want To menu, @language-iwtm-title, is assigned the value "I Want To..." in the default (English) language file. If your viewer is also available in French, @language-iwtm-title might be assigned "Je veux..." in the French language file.
The default language for the HTML5 viewer is US English (language tag "en-US"). The first part of a language tag is a language code ("en") from the ISO 639-1 standard. The second part of a language tag is a country code ("US") from the ISO 3166-1 standard.
Translate Language Files
There are two language files that contain the strings that appear on the application interface. The files are:
-
Framework.UI.en-US.json.js -
Mapping.en-US.json.js
To translate the language files:
-
Navigate to the
Localesfolder containing the language files.The language files are in the
\Resources\Localessubfolder of the web folder where you deployed the viewer. For example, if you deployed the viewer toC:\inetpub\wwwroot\myviewer, then the files are inC:\inetpub\wwwroot\myviewer\Resources\Locales. -
Create a copy of each language file.
-
Rename the language files with the language code of the language you are translating the viewer to.
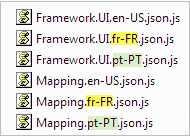
Language files copied and renamed for French and Portuguese
-
Open each language file in a text editor and translate each language string.

Be careful to translate the language strings and not the keys. If you delete a key or even a comma outside of the language strings, this can cause errors and the viewer may not function.
The language files use UTF-8 encoding. If you save the files using the editor's Save As function, make sure you select UTF-8 as the encoding—under other encodings, the viewer's UI strings may contain unexpected characters.
-
Open the three configuration files,
Desktop.json.js,Handheld.json.js, andTablet.json.js, in a text editor such as Notepad.The configuration files are in the viewer's virtual directory. The default location is:
C:\Program Files (x86)\Latitude Geographics\Geocortex Essentials\Default\REST Elements\Sites\<site>\Viewers\<viewer>\ VirtualDirectory\Resources\Config\Default
For more information, see File and Folder Locations.
-
In each of the configuration files, each library's
localesarray needs an array item for each language you are going to support. Copy the existing array items as many times as you need to.The screen capture below shows each library's array item for the default language. The parts that you will change are also indicated.
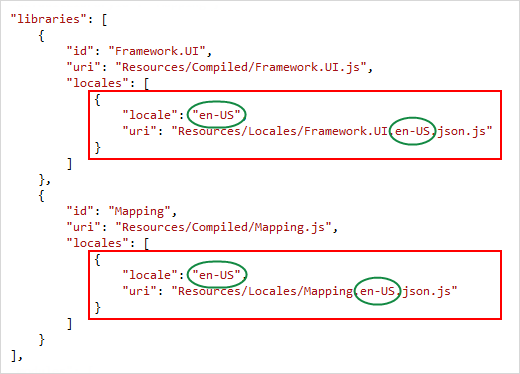
Default language specified in the configuration of the libraries
-
Add a comma between each pair of array items, and make sure that there is no comma after the last array item.
-
Change the language codes in the
localeanduriproperties so that each library has an array item for each supported language.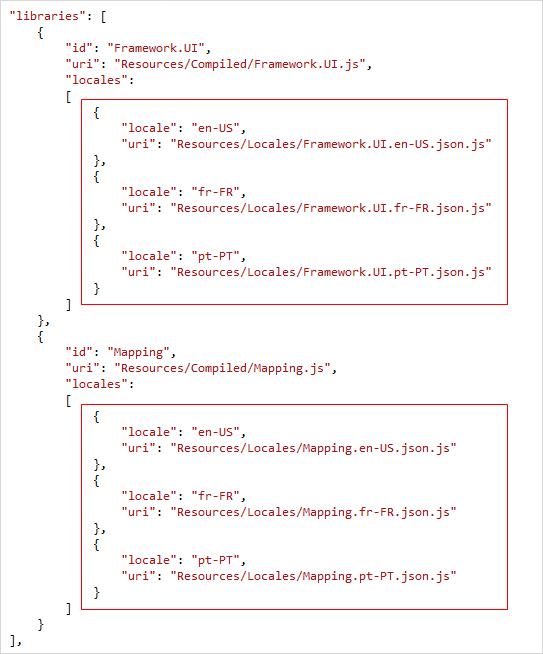
Three languages specified in the configuration of the libraries
-
Save the configuration files and test the viewers.