Update Translations after an Upgrade
Merge New and Old Versions
New versions of Manager and the Geocortex Viewer for Silverlight usually contain new strings that require translation, as well as old strings that can be deleted. The Geocortex Language Tool accommodates this by enabling you to merge translated strings from an older version of the application into the new version, while preserving stings previously translated. You can also prune strings that are no longer needed.
This procedure is the same whether you are using an LPX or a XAP version of the language pack.
To merge a new with an old file:
-
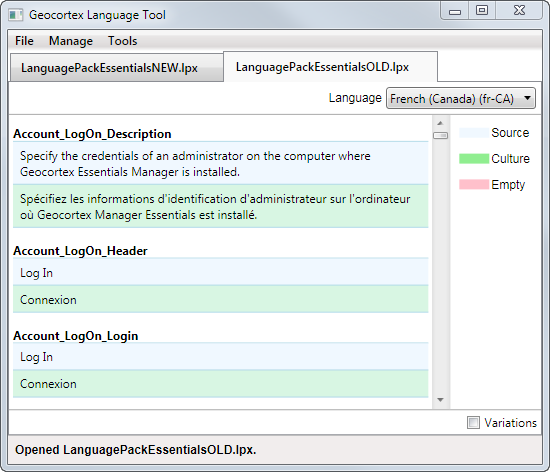
In the Language Tool, open both the old and the new versions of the language pack.
-
With the new version of the file selected, click Manage | Add Language.
-
In the Choose Language dialog box, select a language to add, and then click OK.
-
Repeat steps 2 and 3 until all the languages that exist in the old version of the language pack are added.
-
Click Manage | Merge.
-
In the Choose Language Pack dialog, select the old language pack, and then click OK.
All the languages with their existing translated strings are added to the new version of the language pack.
To find new strings to translate:
-
To find new strings that require translation, select the language from the Language drop-down list.
Any new strings that are not yet translated, are shown in a pink row. You can type the translation for each new string, or export the file to a spreadsheet to send to a translator.
-
Click File | Save.
Merge a Separate Language Pack
It is possible to save a XAP language pack as a separate file with a .lpx extension while you are working on it. Once translated, the language pack can be merged into the XAP file.
To merge a language pack into Geocortex.EssentialsSilverlightViewer.Viewer.xap:
-
In the Language Tool, open both the XAP file and the language pack (
.lpx) with the translated strings. -
Click Manage | Merge.
-
In the Choose Language Pack dialog box, select the language pack you want to merge, and then click OK.
-
Click File | Save.
Merge and Prune a Language Pack
Any strings in a language pack that are no longer used in the application can continue to exist in the language pack without adversely affecting the software. However, if the language pack has become very bloated, or a major feature in the software no longer exists, it is possible to prune deprecated strings from an old language pack during the merge process.
The Merge and Prune function looks at the file you are merging TO (the old file) and compares it to the file you are merging FROM (the new file). If there are strings in the old file that do not exist in the new file, the extra strings in the older file are pruned automatically during the merge.
To merge and prune an old file with an new file:
-
In the Language Tool, open both the old and the new versions of the language pack.
-
Select the tab of the old language pack.
-
Click Manage | Merge & Prune.
-
In the Choose Language Pack dialog box, from the Language Pack drop-down list, select the new file, and then click OK.
The deprecated strings are pruned from the old version of the language pack during the merge process.