Create your First Print Template
The following procedure shows how to create a simple print template that shows the map from an Essentials site with scale bar, north arrow and legend.
To create a print template:
-
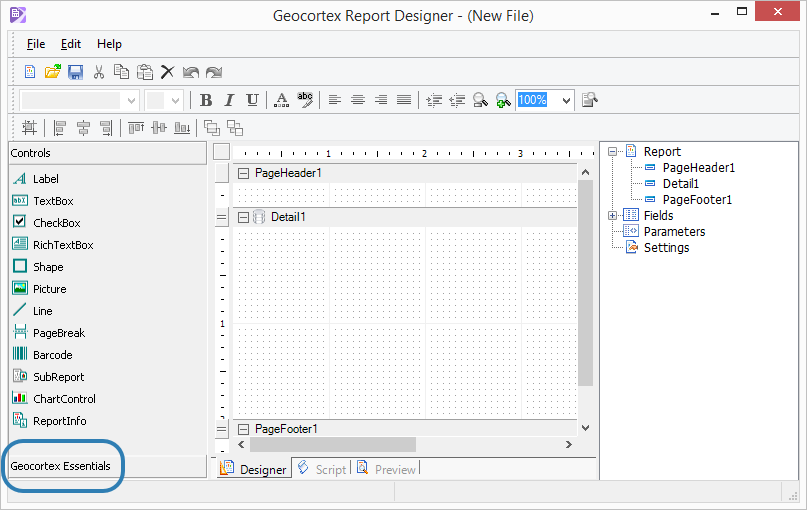
In Essentials Report Designer, click the Geocortex Essentials panel to display the toolbox.
-
To add the map image to the template, drag the Main Map control to the Design Area in the Details area.
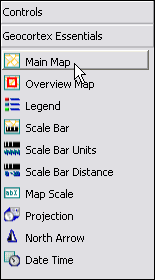
Drag a main map into the Design area
Notice that the
DataFieldproperty is automatically set to_MainMap. Essentials uses this to determine where to add a map image when data binding the report.The
SizeModeproperty must remain set toStretch. -
Resize the Detail section of the report so that the map is fully visible.
-
Click the Preview tab.
Notice that a placeholder image is shown for your map in the preview. This will be dynamically replaced with your actual map image when executed from Geocortex Essentials.
-
Return to Designer view and add a scale bar, legend, north arrow and overview map to the template, as well as scale bar units, scale distance and date/time controls.
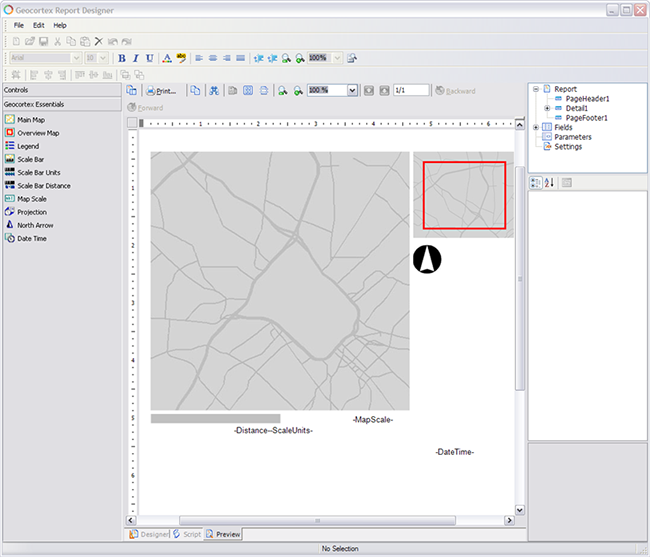
The report should look something like this:

Report in Designer view
Report in Preview
-
Save the report template (File | Save) in the
Sitesfolder.You can now add the print template to your site and configure it so it can be used in the viewer.