Host Print Templates in VertiGIS Studio Web
To configure a VertiGIS Studio Web app to host a print template, you add the template to the app's Print component and optionally configure resolutions and grids for the user to choose from.
To configure a VertiGIS Studio Web app to host print templates:
-
In Web Designer, click Print in the Configure Components panel to open the Print panel.
If the app does not have a Printing component, it cannot host print templates. To support printing, the app must be based on a template that provides the Printing component, such as the Web GIS - Default template.
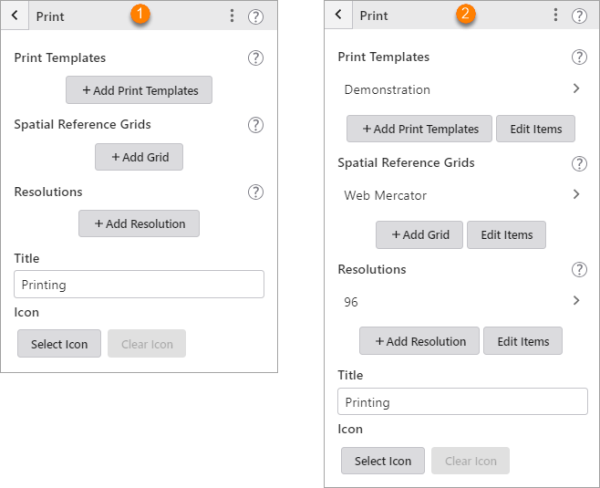
Print component's Print panel without items configured (
 ) and with items configured (
 )
) -
Print Templates: Add the print templates that you want to make available to users.
For print templates based on a preconfigured template, make sure you configure meaningful default values for the template's Map Title and Notes parameters. The VertiGIS Studio Web Print component does not provide settings for the user to enter values for Map Title and Notes.
-
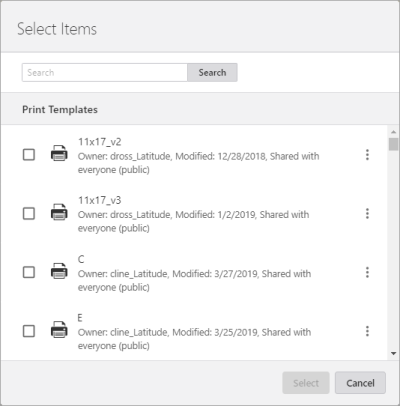
Click Add Print Templates.
-
Select the checkbox for each print template you want the app to host.
-
Click Select.
-
To change the order that the print templates appear to users, click Edit Items and drag the templates one at a time to their new positions. Click Done when you are finished.
-
-
Spatial Reference Grids: If there is at least one spatial reference grid configured, the user can choose to print a grid on the map.
Configure the grids you want to add:
-
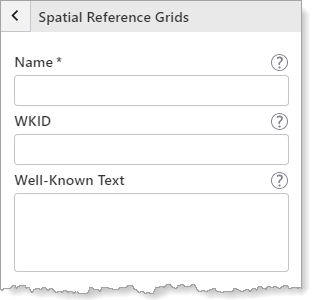
Click Add Grid.
-
Enter the name of the spatial reference in the Name box.
-
Enter the Well-Known ID (WKID) or Well-Known Text (WKT) of the spatial reference.
If you enter both the WKID and the WKT, the WKID will be used.
-
Return to the previous panel.
-
Repeat these steps for each grid you want to add.
-
If you want to re-order the grids, click Edit Items and drag the grids one at a time to their new position. Click Done when you are finished.
-
-
Resolutions: You can configure print resolutions for the user to choose from. The resolution determines the level of detail in the print output—the higher the resolution, the greater the level of detail. This affects the quality of the print output when it is displayed on a computer screen or printed to paper.
Common resolutions are 96 dots per inch (DPI) and 192 DPI. If there are no resolutions configured, 96 DPI is used.
Generating a print at a higher resolution takes longer than generating the same print at a lower resolution, and it results in a larger output file.
Configure the resolutions you want to add:
-
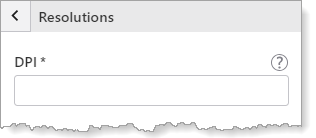
Click Add Resolution.
-
Enter the resolution in dots per inch (DPI).
-
Return to the previous panel.
-
Repeat these steps for each resolution you want to add.
-
If you want to re-order the resolutions, click Edit Items and drag the resolutions one at a time to their new position. Click Done when you are finished.
-
-
If the Print component has default templates, grids, or resolutions configured, you can remove them if you want: For each item, click Edit Items and click the Delete icon. When you are finished, click Done for each type of item.
-
Title: If you want to change the title that appears on the Print Map panel's tab, enter the new title in the Title box.
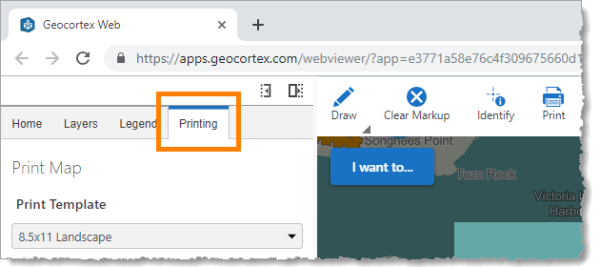
Location of the title in the running app
-
Icon: You do not need to configure the icon. The icon is not used when the Print Map panel displays as a side panel.
-
Test the Configuration: Click the Print tool in the toolbar to open the Print Map panel, select the desired template and settings, and click Print.
-
Press Ctrl+S to save the app.
See also...