You can manually specify values for one or more workflow inputs.
The procedure below adds a menu item to the Results List menu that runs an existing workflow with custom input.
For a list of component menus to which you can add menu items, see Component Menu Types and Contexts.
To specify workflow input values:
1.While editing an app in Web Designer, click Results in the Component panel.
2.Click +Add Menu Item.
A window appears that lets you select a command, workflow, or report.
3.Click the Workflows tab.
4.Select a workflow.
By default, the title of the workflow is also the title of the menu item.
If you cannot find the workflow, try using the Search box or, in the Filter by menu, select one of the other options.
5.Click Select.
6.In the Results panel, click the new menu item to edit it.
7.Optionally, to rename the menu item, type a Title for the menu item. For example, Run My Workflow With Input.
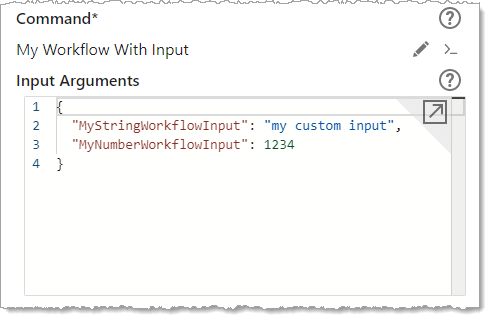
8.Find the code box below the command.

9.Set Input Arguments to a key-value object, where the keys are the names of workflow inputs and the values are the values for those workflow inputs. For example, set MyStringWorkflowInput to a string and MyNumberWorkflowInput to a number. By default, this property is set to { }, which is an empty object.
The type of the workflow input should match the type of the value specified.
You can customize the command by clicking , however, note this action cannot be reversed. When the command is customized, the Input Arguments object is represented by the inputs property. When a context is passed into a workflow, the context is passed in via the inputs object under the value specified by commandArgumentInput. For example, if the value of commandArgumentInput is "map-context", then the workflow input arguments will contain a property called map-context whose value is the context. For more information, see Use the Menu Context as a Workflow Input.
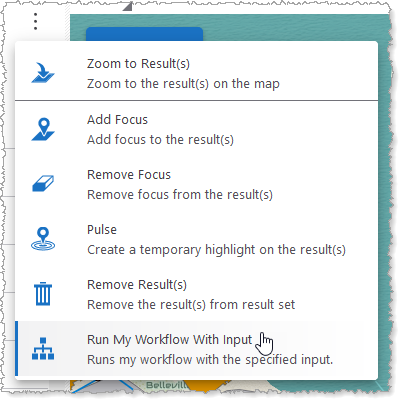
The workflow menu item appears in the Results List menu as follows.

10.Click File > Save to save the app.
If you want the workflow to be available to other users, see Configure Sharing Permissions.