This procedure demonstrates how you can configure a deployment hook for Web to invoke when you deploy your app to Production. You can also set up deployment hooks for Testing and Staging deployments as well.
Our example in this procedure uses a VertiGIS Studio Workflow Server to receive the hook request. You can use any webhook service you prefer.
To configure a deployment hook:
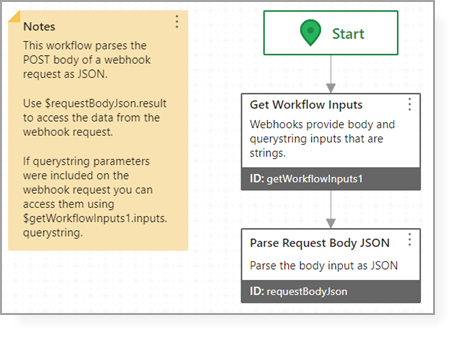
1.In VertiGIS Studio Workflow, create a new server workflow using the Receive Webhook Request sample.
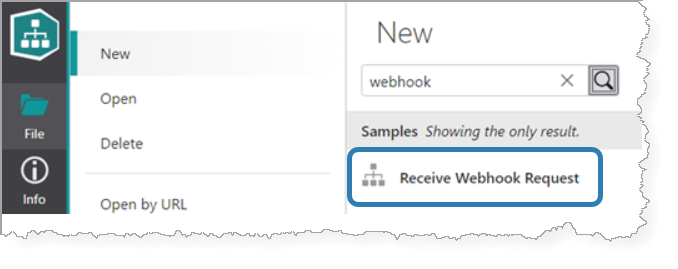
This sample retrieves the workflow inputs and parses the JSON inputs into a ready-to-use structure.
2.Click File > Save As.
3.Enter a title for the workflow and click Save.
The workflow is now accessible at an endpoint URL that includes your workflow server name and the workflow ID, in the following format:
https://<server>/vertigisstudio/workflow/service/webhook/<workflow-id>.
For example:
https://myserver/vertigisstudio/workflow/service/webhook/d59b48bb49e346a6b8f26d81d413d4d5
4.In your VertiGIS Studio Web app, click Deploy > Deployment Hooks.
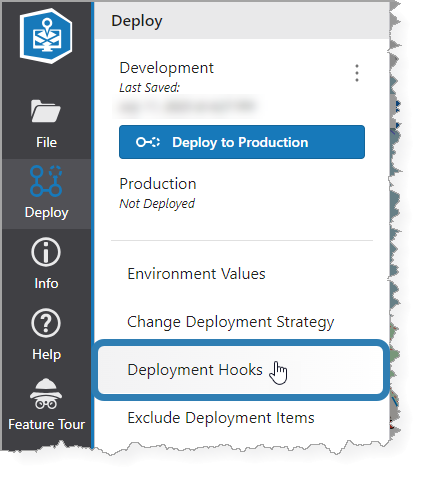
The Deployment Hooks window opens.
5.Enter the endpoint URL from the server workflow into the Production field.
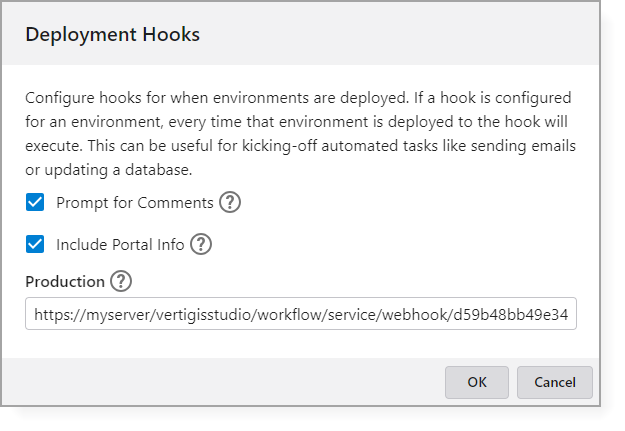
6.Click OK.
When we deploy the app to Production, Web invokes the deployment hook that points to the endpoint URL with a JSON data payload.
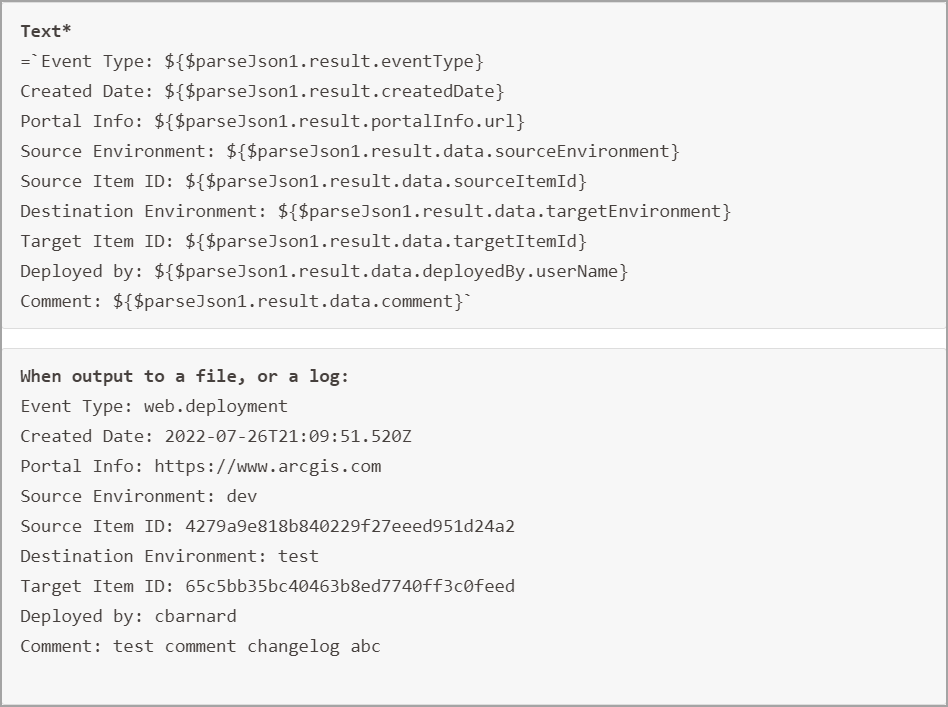
In our example, the server workflow uses the following data to execute the automated task (e.g., to capture a change in a changelog file).
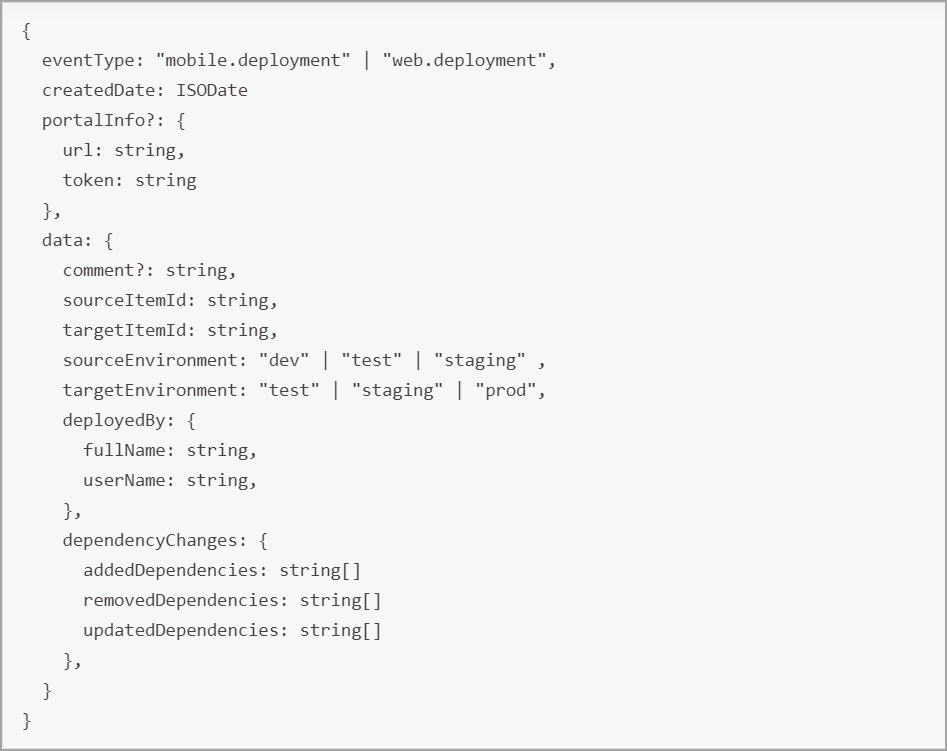
The following is an example that extracts some of the data in the parsed JSON object and returns it as text.