To configure an Experience Builder app to host print layouts, you use a VertiGIS Studio Printing widget. You add the widget to the app and configure it to run one or more prints. If you configure the widget to run multiple prints, the user is presented with a list of print layouts to choose from.
Configure an Experience Builder App to Host Print Layouts
This procedure assumes you have already downloaded and deployed the VertiGIS Studio Printing widget that allows you to host and run print layouts from Experience Builder apps.
See Prepare the Experience Builder Widget for information.
To configure a widget to run the print layout:
1.In Experience Builder, configure the app that will host the print layout.
2.In the left toolbar, click Insert to open the Insert Widget panel.
3.Drag and drop the Printing widget from the toolbar onto the canvas.
4.In the Widget Configuration panel on the right, you can customize the widget icon and label. The label is used as a tooltip for the widget in the running app.
For best results, the icon should be 24 x 24 pixels. Other sizes are adjusted to fit. The supported file formats are PNG, GIF, and JPEG.
![]()
5.Click Add Print Layout.
The Select Layout window opens for you to navigate to the print layout you want to assign to the widget.
If you created the print layout, it will be listed on the My Content tab. If the print layout is shared with you, it will be in My Organization, and/or ArcGIS Online, depending on how it is shared.
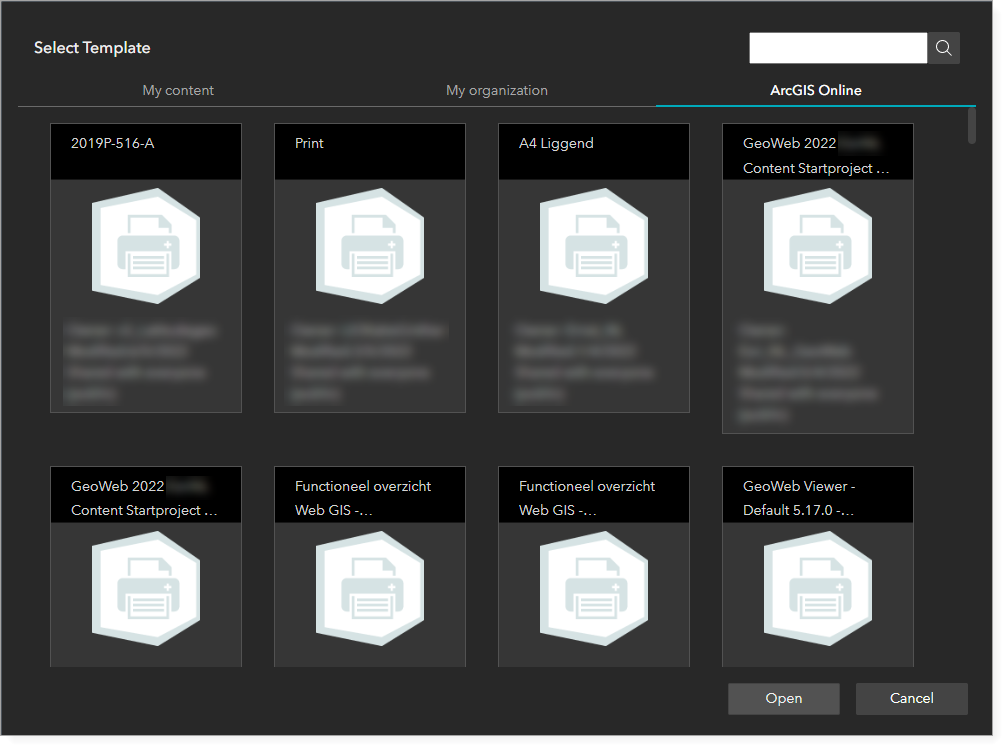
Example of ArcGIS Online tab showing print layouts
6.Locate and select the print layout.
7.Click Open.
8.Save the app.
You can add the Printing widget to an app more than once. This is useful if the hosted print layouts fall into different categories. For example, suppose you want the app to host three layouts for large-format printing and six layouts for printing on an office printer. You could add the widget twice, configure different titles and icons for each widget, and divide the print layouts between them.
See also...