The instructions given below step you through the installation of VertiGIS Studio Printing, including component installation, post-installation configuration, and registering the application with ArcGIS. When you have completed these steps, you will have a working installation of VertiGIS Studio Printing.
Before you begin, download a copy of the installation package.
To be able to edit ArcGIS Pro-based Printing layouts, you must install and configure the VertGIS Studio Printing Engine.
After you install Studio Printing, you must configure the post installer.
To upgrade your Printing Engine, see this VertiGIS Support article.
To install VertiGIS Studio Printing:
1.Run the VertiGIS Studio Printing installer.
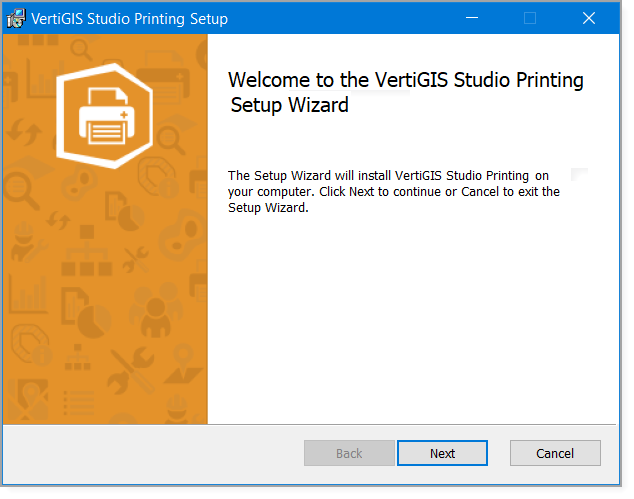
2.Click Next.
The End-User License Agreement panel opens.
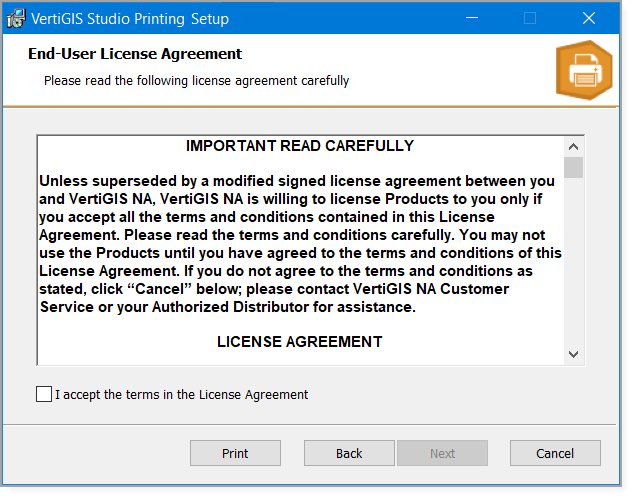
3.Select the I accept the terms in the License Agreement checkbox, and then click Next.
The Destination Folder panel opens.
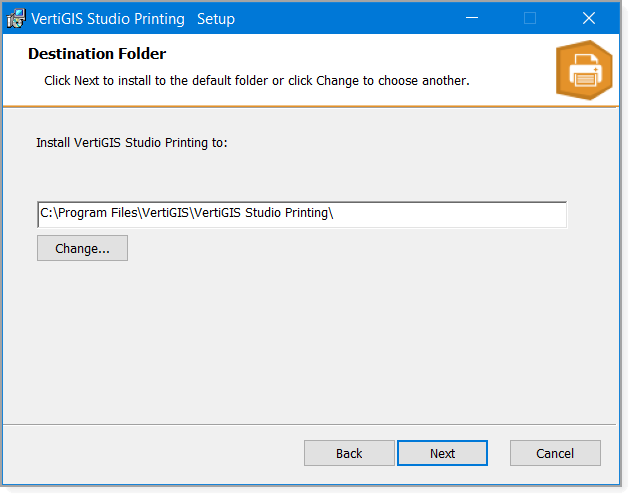
4.Select a location to install VertiGIS Studio Printing, and click Next.
By default, VertiGIS Studio Printing is installed in C:\Program Files\VertiGIS\VertiGIS Studio Printing\.
The Ready to Install panel opens.
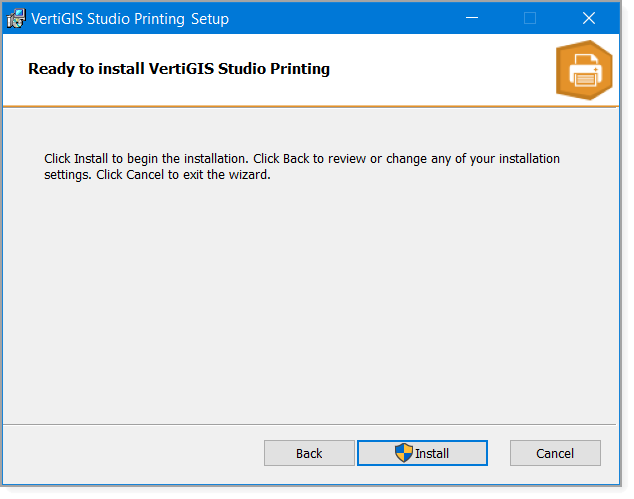
5.Click Install and wait for the installation to complete.
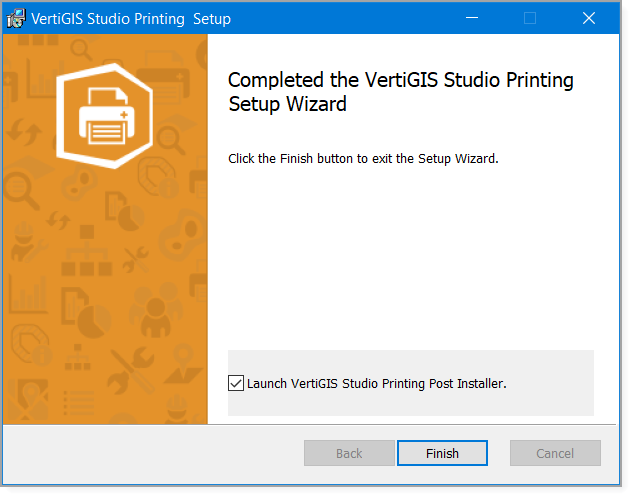
The Completed panel opens.
6.Make sure the Launch VertiGIS Studio Printing Post Installer checkbox is selected and click Finish.
The VertiGIS Studio Printing post-installer opens.
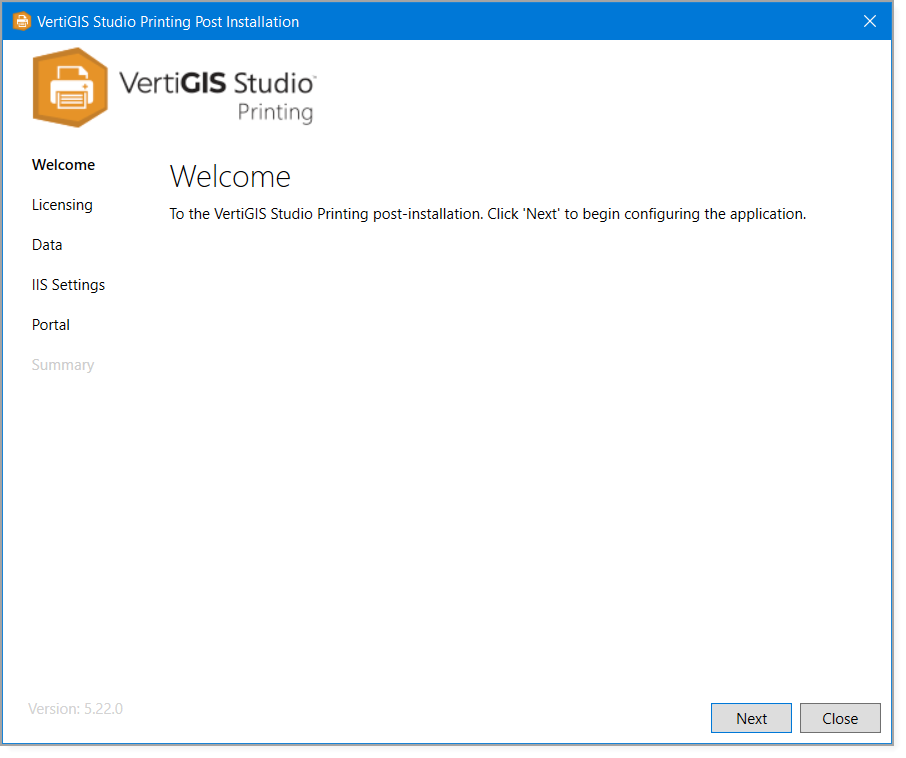
7.Follow the steps in Configure the Post Installer.
