The VertiGIS Studio Printing Post Installer is used to configure on-premises deployments of VertiGIS Studio Printing. You must configure the post-installation settings before you can run your on-premises installation of VertiGIS Studio Printing.
By default, when you install VertiGIS Studio Printing on premises, the Post Installer opens after the installer completes. This allows you to do the required post-installation configuration right away. You can run the Post Installer at any time later to modify your configuration. See Manage an On-Premises Installation.
The Post Installer allows you to do the following:
•Select a data storage location
•Configure VertiGIS Studio Printing's deployment in IIS
•Register the application with Portal for ArcGIS or ArcGIS Online
To configure the Post Installer:
The first time you run the Post Installer after installing VertiGIS Studio Printing, you must visit every panel in order and click Next to apply the panel's settings. If you navigate away from a panel by clicking a link in the sidebar, the configuration for that panel will not be applied, not even the default configuration.
Licensing
VertiGIS Studio Printing is licensed software. Use the Licensing panel to activate the product.
1.Navigate to Licensing.
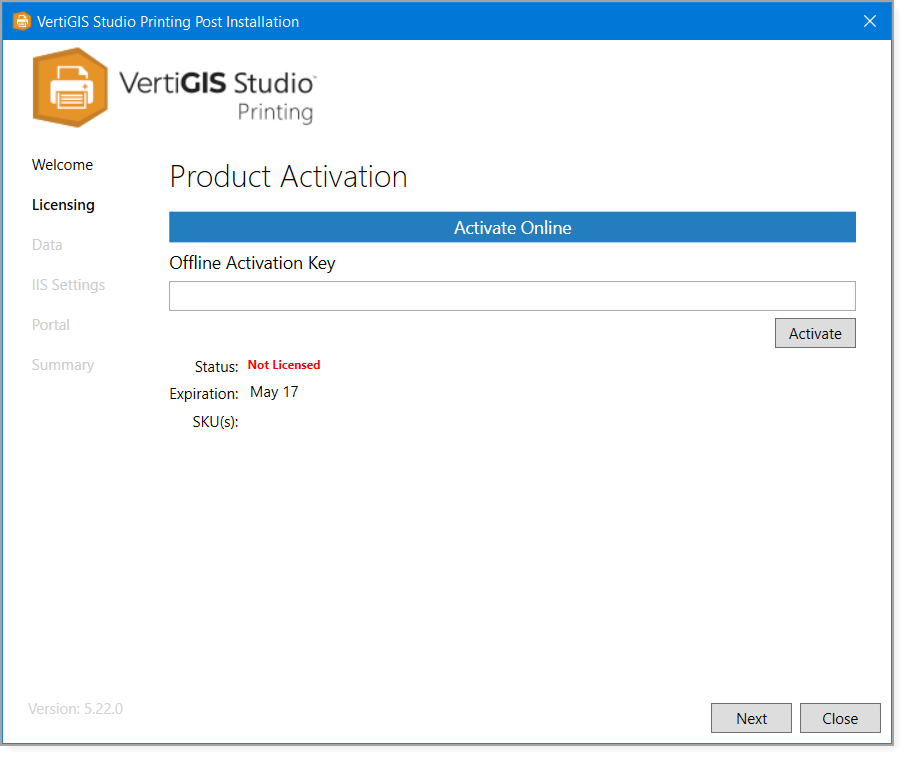
2.When prompted for a license key, you have two options:
•Activate Offline: Contact Customer Service for an activation key.
•Activate Online: Sign in to your ArcGIS Online organization associated with your VertiGIS Studio Printing license. If your organization already has a license, activation completes automatically. If your organization does not have a license, you are asked if you would like to submit a request for a trial license.
VertiGIS Studio Printing comes with a 60-day trial license. To continue using VertiGIS Studio Printing after the trial period, the product must be activated with a valid license.
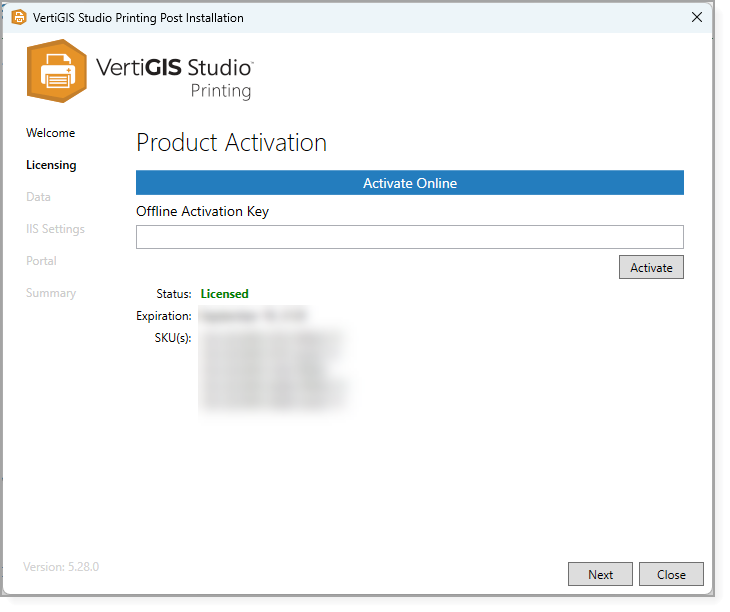
After the product key is activated, the Status changes to show that the product is Licensed and the SKUs for this product display.
Data
The Data panel allows you to specify the folder for storing files related to your VertiGIS Studio Printing installation, such as configuration files and prints. This allows you to organize your files on a different drive or network location, to suit your environment.
The default data directory is C:\ProgramData\Geocortex\Printing. Some possible custom locations are as follows:
•On a different drive: For example, D:\Data\VertiGIS Studio Printing\
•On a network share via UNC path: For example, \\servername\data\vertigis-studio-printing\
If you use a custom location, ensure that both the Printing application pool identity and the Printing service account have read and write access to the data directory. The default identity is IIS AppPool\VertiGISStudioPrinting.
If you choose a data directory on another machine, you must configure both the Printing application pool identity and the Printing service account to use an identity that can access the Printing server and the data server (for example, a domain service account).
Follow the steps in the procedure below to ensure you do not lose access to your existing print templates.
To move the data directory after you have used VertiGIS Studio Printing:
1.Stop the application pool to take the Printing service offline.
This prevents data changes while you move the data directory.
2.Copy the data directory to the new location.
3.Ensure the application pool identity has write permissions to the new location.
The default identity is IIS AppPool\VertiGISStudioPrinting.
4.In the Post Installer, change the Data Directory to the new location.
5.Close the Post Installer.
6.Restart the application pool.
7.Delete the old data directory.
8.Open Post Installer and navigate to the Data panel.
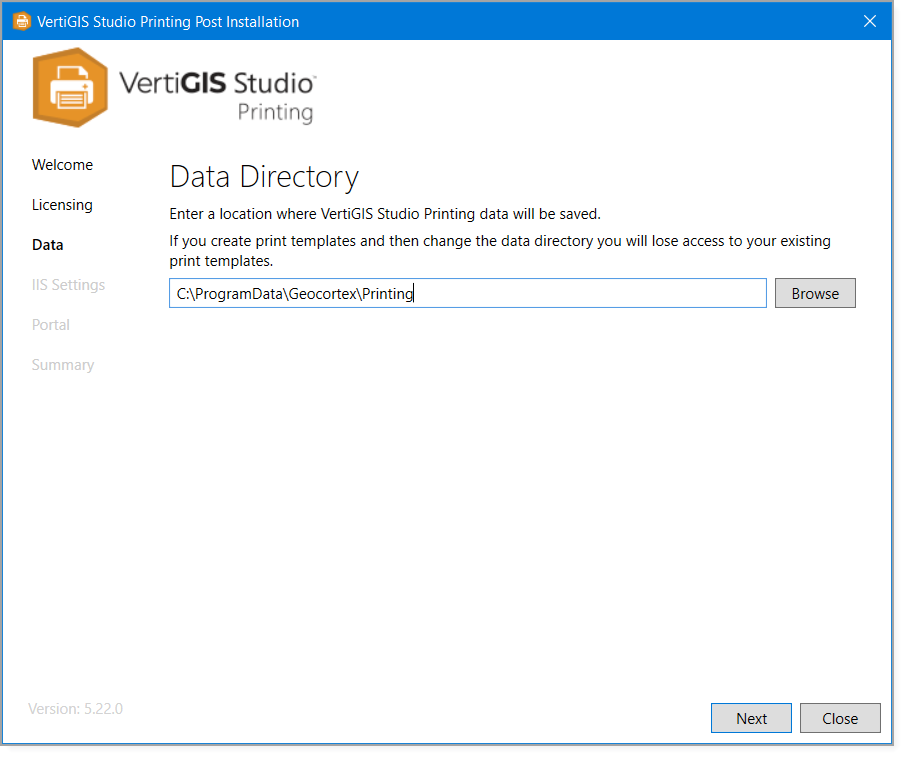
9.Enter the path to the data directory. Alternatively, if the data directory is on the same machine as VertiGIS Studio Printing, click Browse to browse to the data directory.
10.Remember to give the application pool identity Write permission to the new location.
IIS Settings
The IIS Settings allows you to manage how VertiGIS Studio Printing is deployed in IIS.
1.Navigate to IIS Settings.
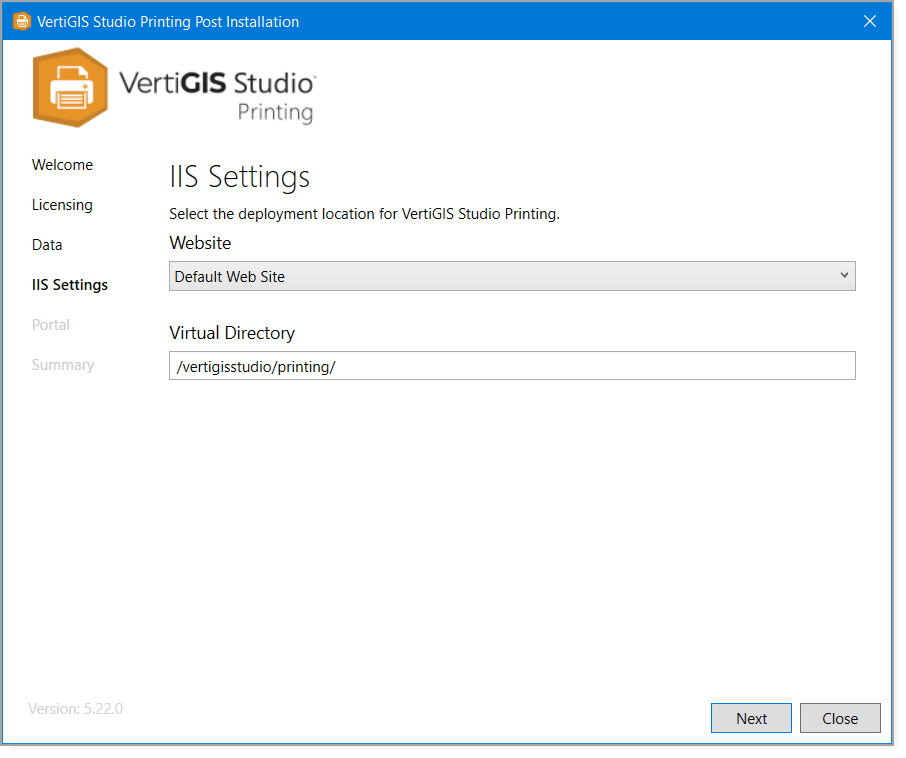
2.To use a different website, select the website from the Website drop-down list.
By default, VertiGIS Studio Printing is deployed to IIS's Default Web Site.
3.To use a different virtual directory, type the path in the Virtual Directory box.
By default, VertiGIS Studio Printing uses /vertigisstudio/printing as the virtual directory.
Portal
To save and share print layouts, VertiGIS Studio Printing must be registered with an ArcGIS portal, either your Portal for ArcGIS installation or ArcGIS Online.
To register with a portal:
1.Navigate to Portal.
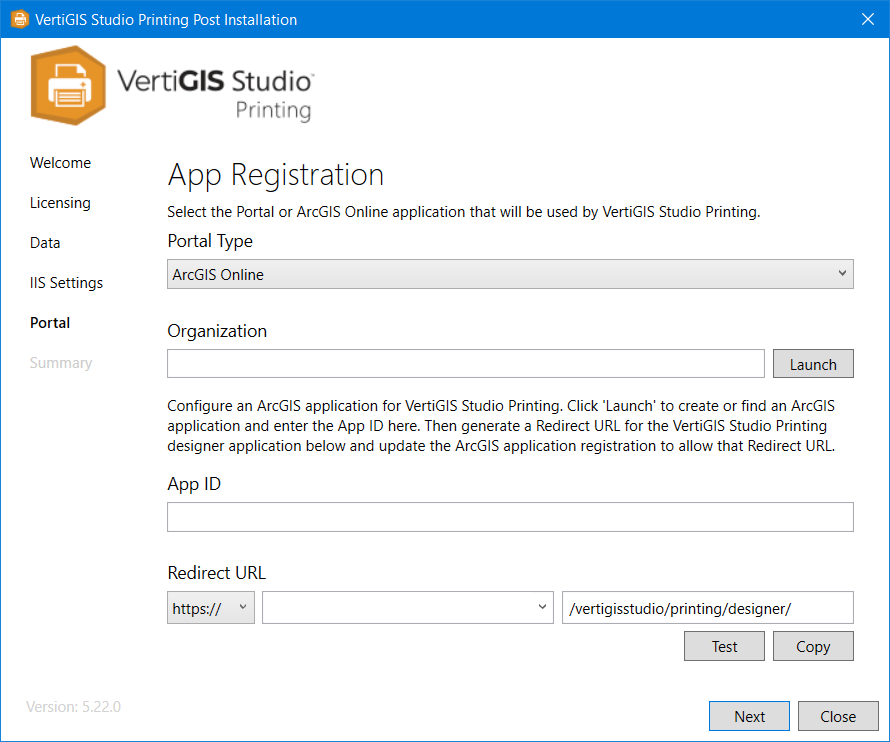
2.Select the Portal Type you are using.
3.In the Organization field, do one of the following:
•Portal for ArcGIS: Enter the URL to your portal instance (for example, https://host.domain.com/arcgis/).
•ArcGIS Online: Enter your organization name (for example, MyOrganization) or the URL of your ArcGIS Online portal (for example, https://myorganization.maps.arcgis.com).
4.Paste the App ID (from the app you created in your portal) into the App ID field.
5.In the Redirect URL section, select HTTPS and copy and paste the Redirect URL from the app you created in your Esri portal.
6.Click Test to test the registration of your application.
The Post Installer tests your registration and either shows a success message or prompts you to fix any errors.
If Portal for ArcGIS is secured using Windows Integrated Security and anonymous access to the portal is disabled in IIS, the Post Installer will present a warning that says: "The portal application registration is valid—however the specified portal requires authentication." You must install the VertiGIS Studio Web Adaptor Extensions to allow VertiGIS Studio Printing to communicate with Portal for ArcGIS.
7.Click Next.
8.Continue to Summary, where you can launch VertiGIS Studio Printing or copy the Designer URL to the clipboard.
Summary
The Summary shows Print Designer's URL for you to distribute to print authors in your organization. The Summary also provides a link to launch Print Designer.
1.Click Launch Print Designer or copy the URL under Designer URL for distribution to your team.
Before other members of your organization can access Print Designer, you must share the application item that was created with your organization within your portal. For information, see Share Print Layouts.
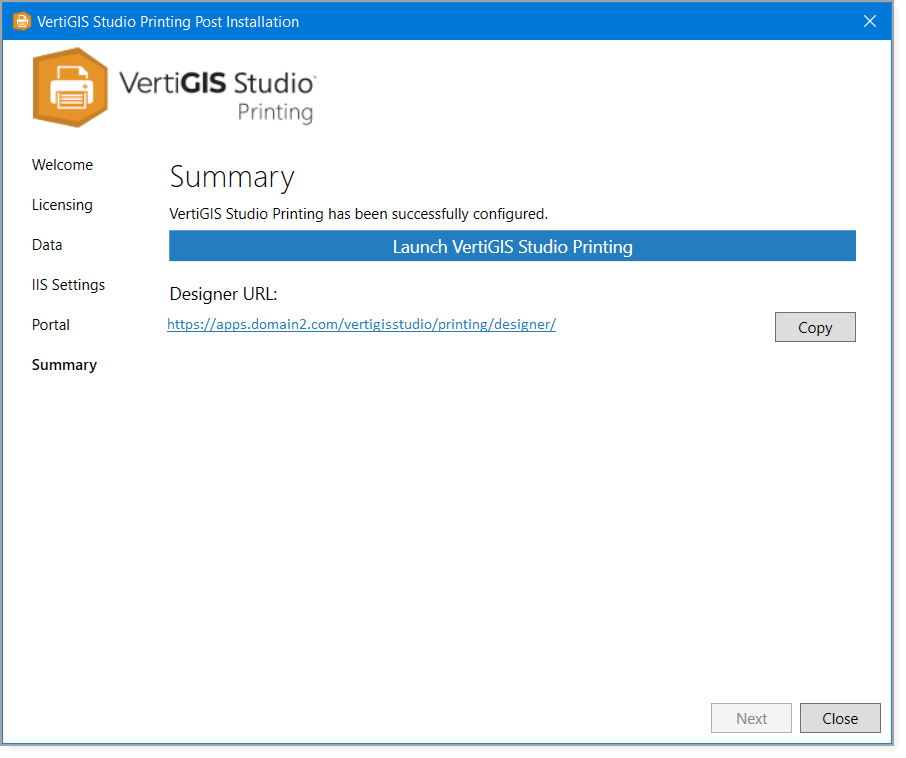
2.Click Close to exit the Post Installer.
You have now completed the post-installation configuration and deployment of VertiGIS Studio Printing.
After installation, you can configure a geometry server.
