Configure Parameters
You can configure a print layout to take inputs at run time. This is useful if you want to allow the end user to supply a custom title, notes, or other text to include in the print output.
To configure a print layout to take a text input, you add a String parameter to the layout and then use the parameter in a Label control. The user will be presented with a text box to enter a value for the input.
You can configure default values for parameters. The preconfigured layouts have two parameters: Title and Notes. The Title parameter has a default value, while the Notes parameter does not.
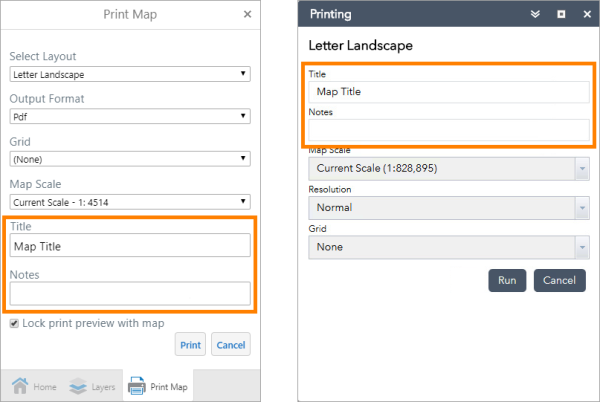
Example of input parameters in a Geocortex HTML5 viewer (left) and in a Web AppBuilder app (right)
Main Steps to Configure a Print Layout to Take Inputs
- Add a parameter to the print layout.
- Use the parameter in a Label control.
- Repeat these steps for each input.
Configure a Print Layout to Take Text Inputs from the User
To configure a print layout to take text inputs from the end user:
Step 1: Add a parameter to the print layout
-
Launch Print Designer and open or create a print layout.
-
In the Field List
 , click
  Parameters to show the Add button.
 -
Click Add parameter
 .
. A new parameter is added.
-
Click Edit
 to edit the parameter.
 -
Configure the parameter's properties, as described in the table below.
Parameter
Description
Name Type a name for the parameter, for example,
TitleorNotes.Use the name to reference the parameter:
[Parameters.Name]The name can include letters, numbers, and underscore characters (_). The name cannot contain spaces or special characters.
The Preview function uses the name to label the input text box.
Description The description is used to label the input text box in host applications.
It can include letters, numbers, spaces, and special characters.
Orientation Select the direction you want the layout printed on the page:
-
Portrait (vertical)
-
Landscape (horizontal)
Type Set the Type to String. Only single-value parameters of type String are presented to the end user as inputs.
Visible Determines whether the parameter is shown in the layout. Enabled Allow null value If enabled, the parameter can be left empty when the user runs the print job.
If disabled, the parameter must have a value. The print job will not run until the use enters the required value.
Allow multiple values Multi-Value: Make sure the Multi-Value checkbox is cleared. Only single-value parameters of type String are presented to the end user as inputs.
Select all values Value Optionally specify a default value for the parameter. The default value is used if the user does not enter a value. It is also used when you preview the print in Print Designer, if you do not enter a value.
The configuration will look something like this:
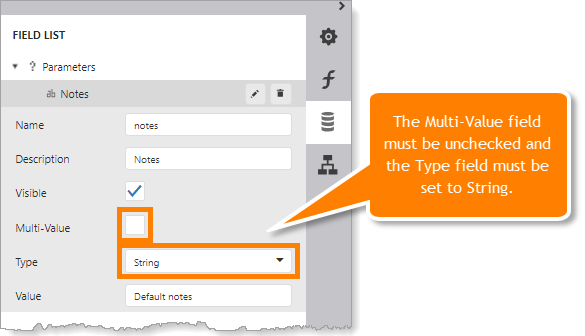
Example configuration for a parameter called notes
-
Step 2: Use the parameter in a Label control
-
Drag the parameter from the Field List to the desired band.
This adds a Label control that is configured with the expression
[Parameters.parameterName], whereparameterNameis the name of the parameter that you added.Alternatively, you can add a Label control to the design surface and set its Expression setting to
[Parameters.parameterName]in the Properties panel.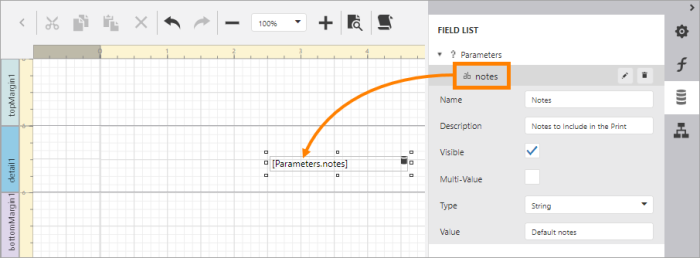
Use a parameter called Notes in a print layout by dragging it from the Field List to a band
-
Adjust the size and position of the control and format it.
-
Verify the parameter:
-
Click Preview
 .
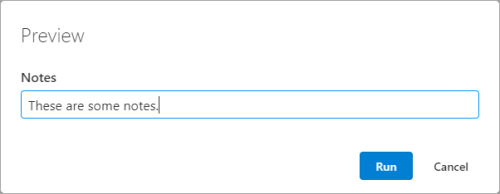
.The preview prompts you for a value.
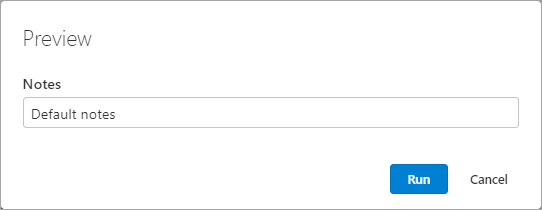
Prompt to enter a value for the notes input
-
Type a value in the Notes box.
Alternatively, you can skip this step to accept the default value.
-
Click Run to generate the print.
The PDF opens in a new browser tab.
-
-
Repeat steps 1 and 2 for each input that you want to include in the print layout.