To set up your Studio Search app for Studio Web integration:
1.In Studio Search Designer, either select an existing app that you would like to use or create a new one.
The app opens to the App Configuration page.
2.Click Create Resource.
The Create Resource Configuration window opens.
3.Click Select Layer the choose the layer to add to your app.
If your selected layer has multiple layers, a window appears for you to select a single layer.
4.Click Create.
5.Click File > Save to save the newly created resource.
6.Configure the settings of each layer. The settings are described in the table below.
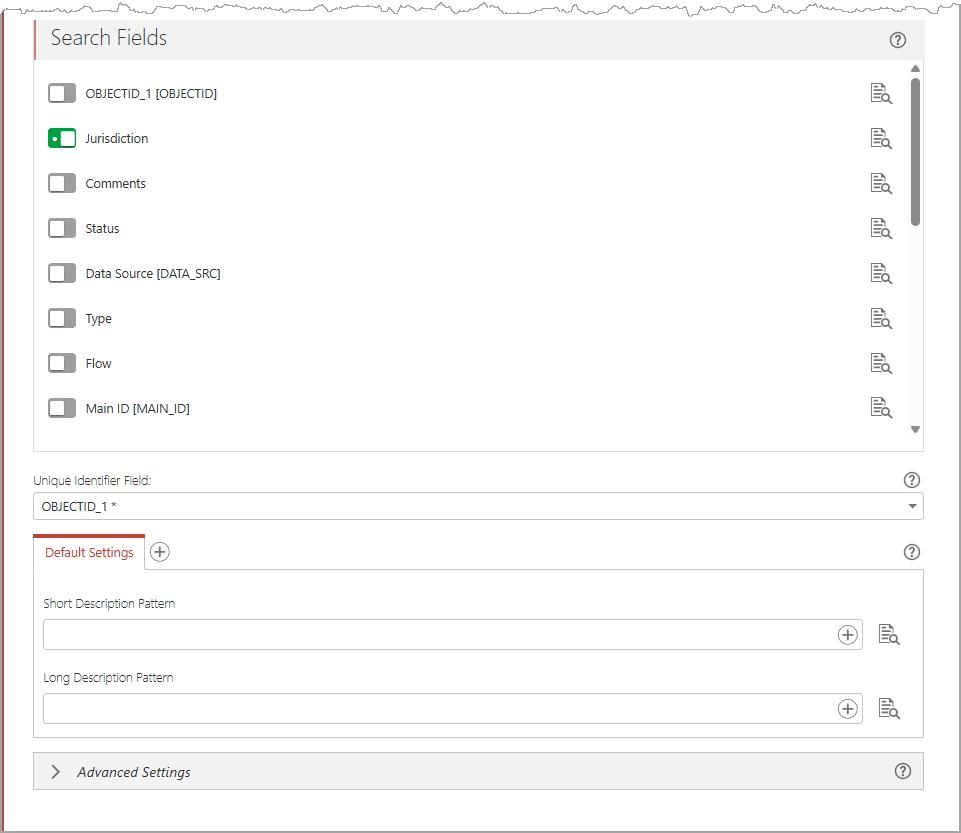
Term |
Definition |
|---|---|
Search Fields |
When enabled, the field is searchable. |
Unique Identifier Field |
This field is used to point to the same feature in the search result. |
Short Description Pattern |
A concise explanation of the search result. |
Long Description Pattern |
A detailed explanation of the search result. |
7.Repeat the above steps to add all map layers (resources) that you will use in your Studio Web app.
8.Configure the basic and advanced app settings as required.
Then, generate however many access tokens you want.
You must have at least one access token set up.
9.Click New Token in the App Tokens for Search Client Access section.
10.Enter at least one URI in the Referrer URIs and select the Expiration Date.
11.Click Create.
Now that you have set up your Studio Search app, you can configure the Studio Workflow template to enable the integration between Studio Search and Studio Web.