The installation procedure involves running the installer, which adds the VertiGIS Studio Workflow files to the server.
After installing, the Post Installer automatically starts and you must complete the post-installation process.
To install Workflow:
1.Double-click the installer file you previously downloaded, named similarly to VertiGIS-Studio-Workflow.[version].msi.
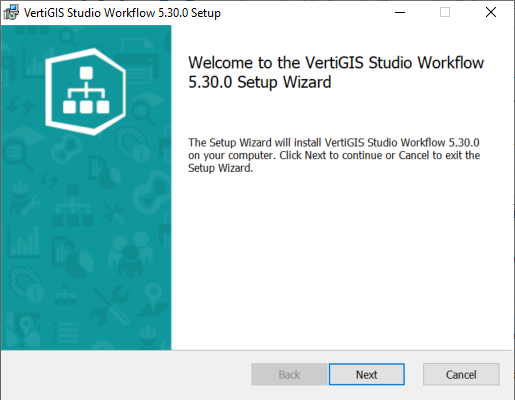
2.Click Next.
The End-User License Agreement opens.
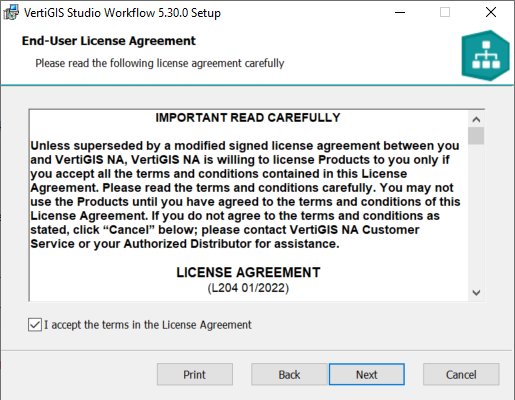
3.Read the license agreement.
4.Select I accept the terms of the License Agreement.
5.Click Next.
The Destination Folder window opens.
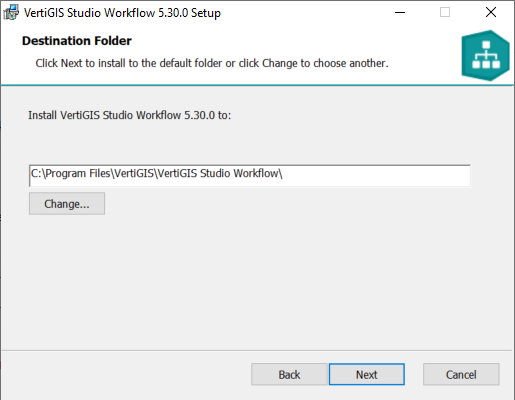
By default, VertiGIS Studio Workflow is installed in the following directory:
C:\Program Files\VertiGIS\VertiGIS Studio Workflow\
If you want to change the default location, click Change, navigate to the desired folder, and click OK.
6.Click Next.
The Ready to Install window opens.

7.Click Install.
8.If prompted by User Account Control, click Yes.
After installation, the Completed window appears.
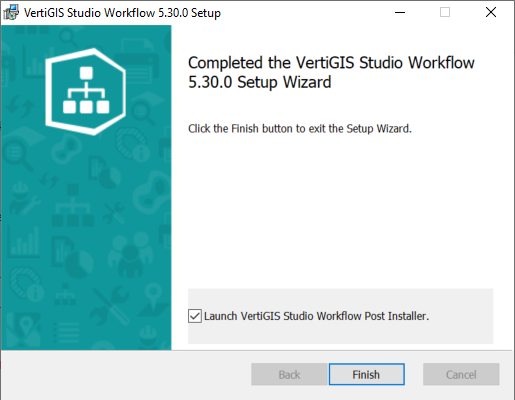
9.Click Finish.
You must complete all steps in the Post Installer before you can use the software. If you clear the Launch VertiGIS Studio Workflow Post Installer checkbox, you can run the Post Installer later by running VertiGIS Studio Workflow Post Installer from the Windows Start Menu.
10.Follow the steps in Configure Post-Installation Settings.