Install Access Control
To use VertiGIS Studio Access Control, you must install it on every machine that will run the Designer or Proxy. After the installer completes, the Post Installer opens by default. This allows you to do the required post-installation configuration right away.
To configure the post-installation settings, make sure you know which component(s) this installation of Access Control will use—the Proxy, the Designer, or both. See Deployment for information.
You can run the Post Installer at any time later to modify your configuration.
To use the Proxy, Access Control must be installed on the same machine as the Web Adaptor.
Every installation of Access Control in a deployment must use the same version.
If you are evaluating Access Control, the quickest way to get started is to install Access Control on a single Web Adaptor machine and configure both the Proxy and the Designer in the Post Installer. This gives you a complete working system on which to try controlling access to ArcGIS Server. You can install Access Control on additional machines at any time later.
You can download the Access Control installer here.
To install VertiGIS Studio Access Control:
-
Copy the installer to the machine where you want to install Access Control.
-
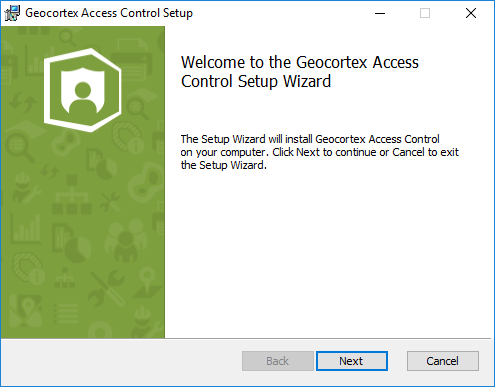
Run the installer.
-
Click Next.
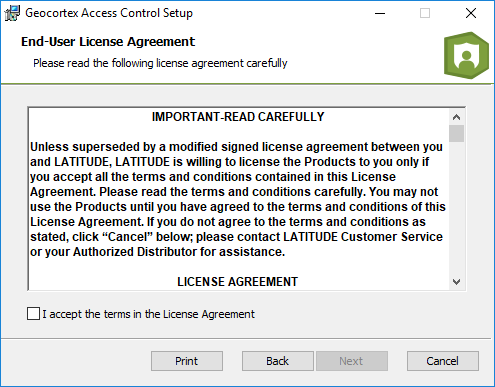
The End-User License Agreement panel opens.
-
Read the license agreement.
To print a copy of the agreement for your records, click Print.
-
If you agree to the terms of the license agreement and supporting documents, select the I accept the terms in the License Agreement check box, and then click Next.
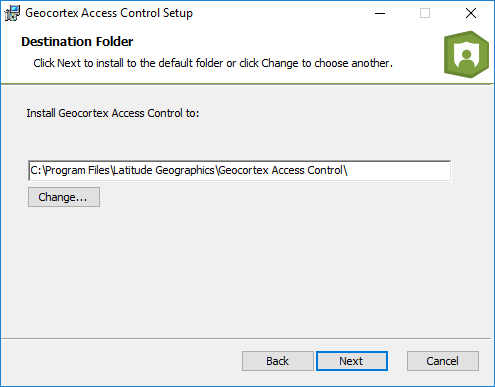
The Destination Folder panel opens.
-
Select a location to install Access Control, and then click Next.
By default, Access Control is installed here:
C:\Program Files\VertiGIS\VertiGIS Studio Access Control\
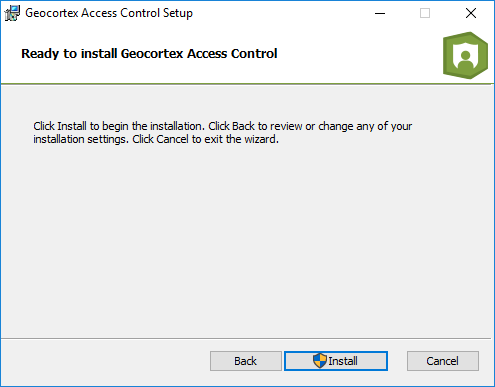
The Ready to Install panel opens.
-
Click Install and wait for the installation to complete.
The Completed panel opens.
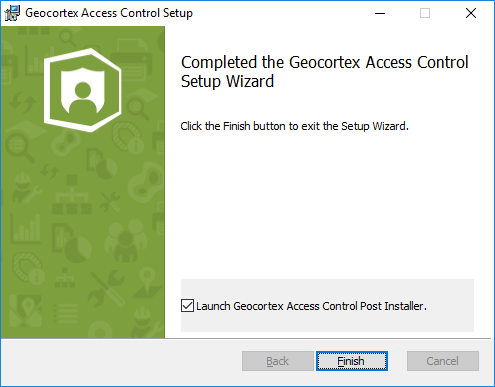
-
Make sure the Launch VertiGIS Studio Access Control Post Installer check box is selected and click Finish.
The Post Installer opens.
-
Follow the steps in Configure Post-Installation Settings.