All data collected from resources for Analytics is done via an Agent (or telemetry endpoints for Mobile and Web apps). An Agent will not collect any data until a resource has been added. After an Agent has been installed, you can add a resource to begin collecting data. With ArcGIS Online, the Agent is installed on a server and then configured for access.
Resources that can be added via the Add Resource:
•Server
•ArcGIS Servers
•Portal for ArcGIS
•ArcGIS Online
You should install an agent on any local servers, including ArcGIS and Enterprise Portal servers, that you wish to monitor with Analytics. These local agents can also be configured to monitor ArcGIS Online.
Mobile and Web Apps are added using a different method. See Add Mobile and Web Apps for more details.
Add a Server
For a server to collect data and make that data available for reporting, an Agent must be installed on that server and it must have a configured resource.
A single Agent on a server can monitor more than one resource.
To add a server resource:
1.From the Analytics dashboard on the target server, navigate to Settings.
2.From the bottom left of the dashboard, choose Server from the Add Resource dropdown.
3.Click the "+" icon.
4.Select an agent from the dropdown. (Optional - If an agent has not been installed on this server, click Add New Agent.)
5.Click Next.
6.Configure the Display Name.
Add an ArcGIS Server
For an ArcGIS server to collect data and make that data available for reporting, an Agent must be installed on that server, and it must have a configured resource.
It is recommended that ArcGIS Server be set to “verbose” logging in order to maximize data collection in Analytics.
To add an ArcGIS server resource:
1.From the Analytics dashboard on the ArcGIS server, navigate to Settings.
2.From the bottom left of the dashboard, choose ArcGIS Server from the Add Resource dropdown.
3.Click the "+" icon.
4.Select an agent from the dropdown. (Optional - If an agent has not been installed on this server, click Add New Agent.)
5.Click Next.
6.Configure the installation directory for ArcGIS Server on each agent and click Next. This path should be local to the agent and will be accessed by the agent while monitoring ArcGIS Server.
7.On the Log Collection Details step, click Next to continue.
8.Enter a unique name in the Display Name field and click Finish.
If ArcGIS is a multi-server install, repeat the steps above for each of the ArcGIS servers. Ensure that an Agent is installed on each server in a multi-server ArcGIS environment.
Add a Portal
1.From the Analytics dashboard on the Portal server, navigate to Settings.
2.From the bottom left of the dashboard, choose Portal for ArcGIS from the Add Resource dropdown.
3.Click the "+" icon.
4.Select an agent from the dropdown. (Optional - If an agent has not been installed on this server, click Add New Agent.)
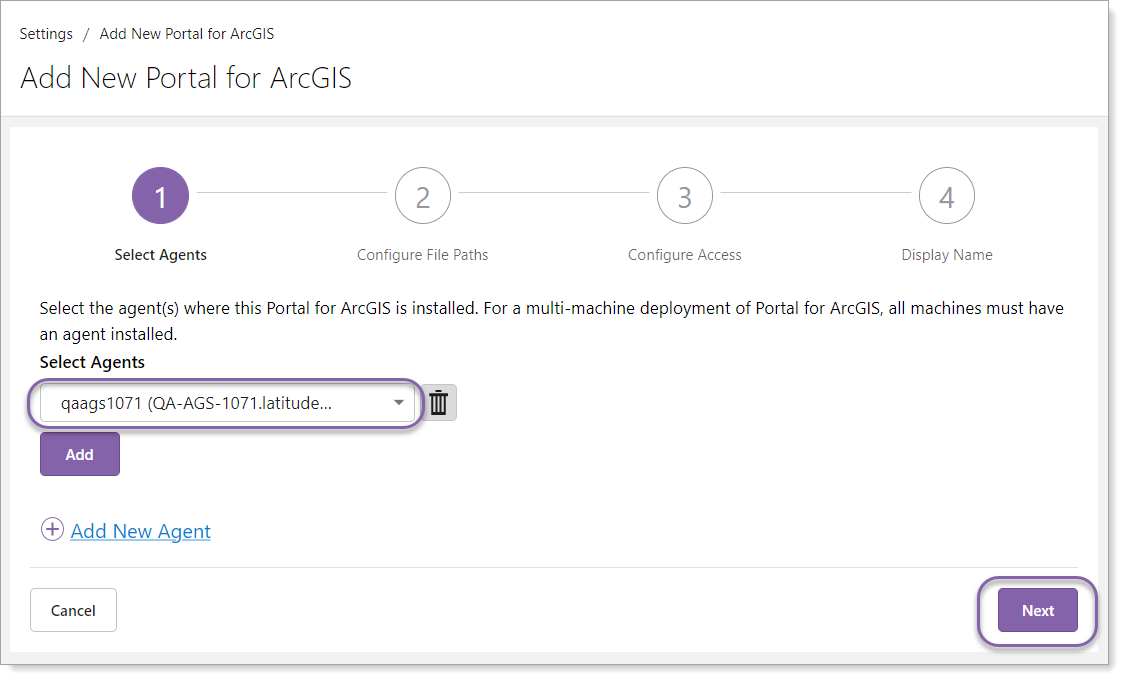
5.Click Next.
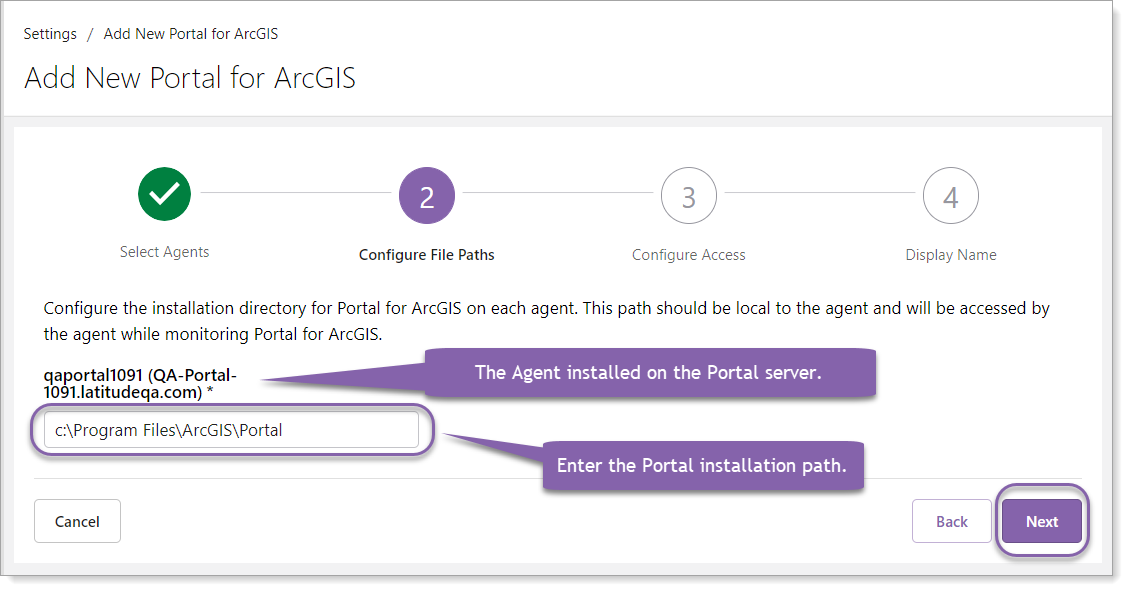
6.Enter the Portal installation path and click Next.
7.The Redirect URI uses a default value. Configure access by entering the Portal URL and the App ID. For more information on App ID, see Add an App in Portal for ArcGIS.
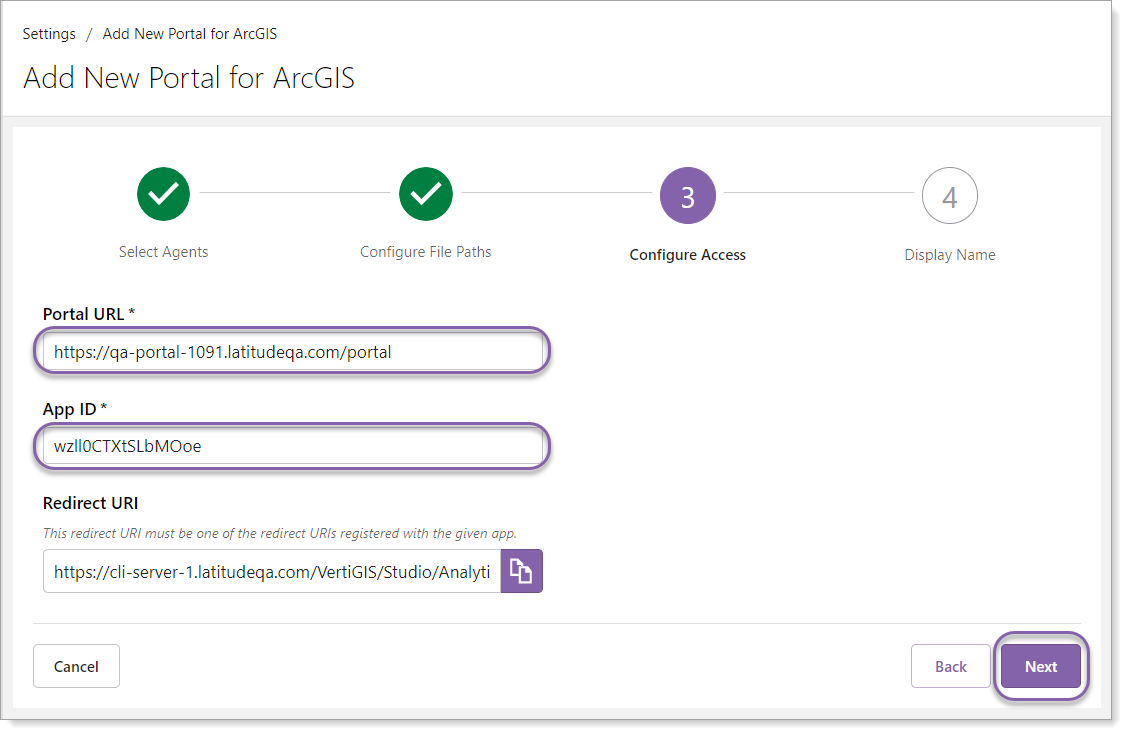
8.Copy the Redirect URI to use when adding an app then click Next.
9.Enter a display name for this resource and click Finish.
Add an ArcGIS Online Account
1.From the Analytics dashboard, navigate to Settings.
2.From the bottom left of the dashboard, choose ArcGIS Online from the Add Resource dropdown.
3.Click the "+" icon.
4.Select an agent from the dropdown. (Optional - If there is not an Agent in the dropdown, click Add New Agent.)
5.Click Next.
6.The Redirect URI uses a default value. Configure access by entering the ArcGIS Online Organization and the App ID. For more information on App ID, see Add an App in Portal for ArcGIS.
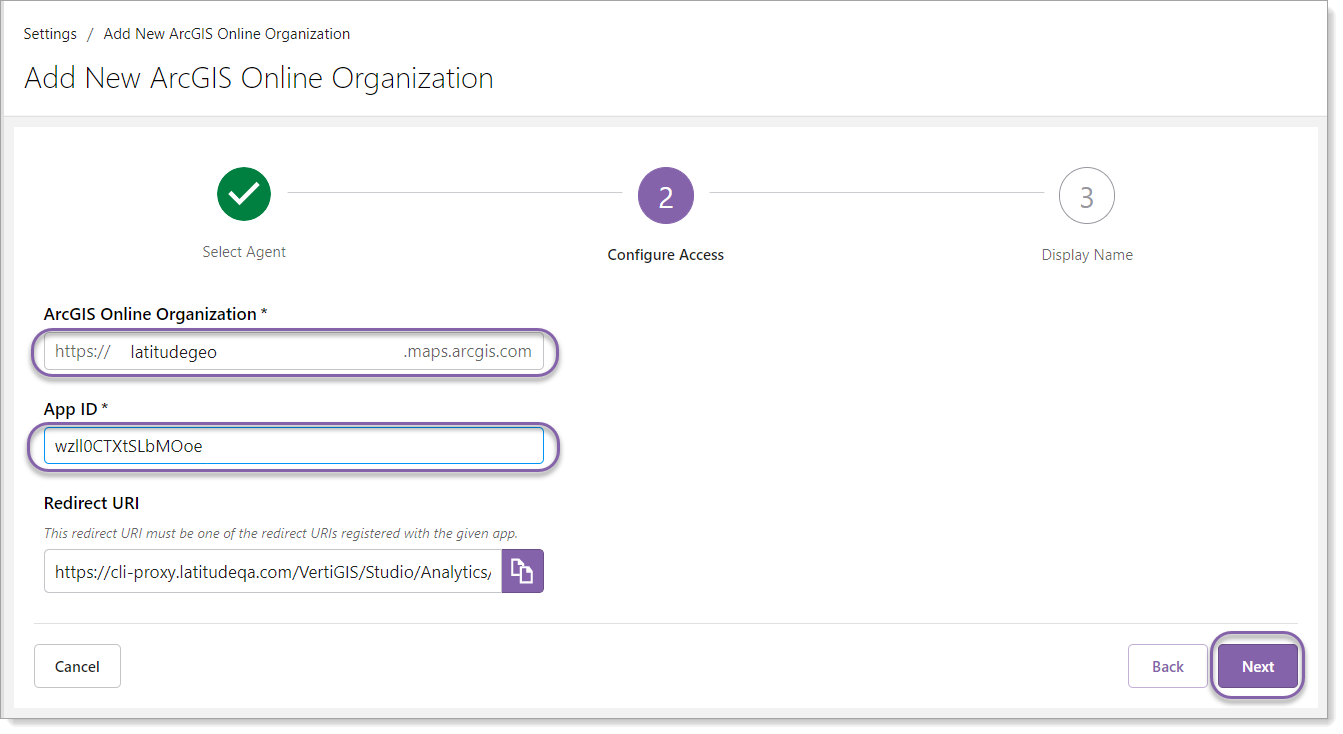
7.Copy the Redirect URI to use when adding an app then click Next.