The Designer group of the Studio toolbar contains the Multi Lines tool.
Multi Lines
This tool can be used to capture any number of parallel line features on a map.
Create Multi Line Dockpane
The following functions are available in the Multi Line dockpane:
Filters |
The editing templates are filtered to those that are allowed for this creation. |
Delete List |
The selection of editing templates is reset. |
Counter |
The cumulative number of editing templates transferred to the list each time the tool button is clicked. |
Reset Counter |
The counter is reset to the default value of 1. |
Activate Help |
A detailed online help is displayed. |
Hamburger menu |
The list view can be selected individually (simple or detailed). |
List of Editing Templates
The list of editing templates defines the feature creation. The parallel line features are generated in the order specified here. This order can be changed as desired using the up/down buttons in the selection window. Another button can be used to remove individual templates from the list.
Feature Creation
The actual feature creation is controlled and initiated in the lower part of the dock pane.
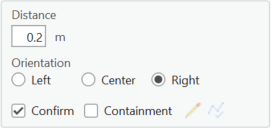
The distance between the lines must be specified. Furthermore, the orientation of the lines, in relation to the input geometry, must be specified. The new lines can be calculated to the right, center, or left of the geometry.
If the Confirm check box is activated, the parallel lines calculated with the defaults are first displayed on the map. With the confirmation of the editor, the actual features are created, or the creation is discarded. Thus, changes can still be made in the configuration.
If the Containment checkbox is activated, containment assignments are created between the features involved - if parameterized. This applies both to the newly created features and to the feature over which the design geometry is determined. For example, lines can be assigned to an existing route.
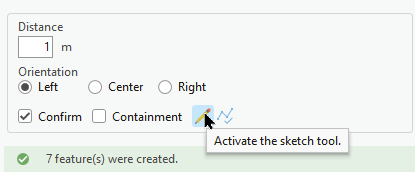
Sketch
Click the Sketch button to activate the sketch tool. Any geometry can be specified with the mouse. With the completion of the sketch, the calculation is performed.
Map Select
The Select button uses all the features selected in the map for the geometry determination. Only line feature selection is allowed. All geometries are merged into the actual acquisition geometry.
It should be noted that multipart geometries are not allowed when creating network features. I.e., coherent geometries must be ensured or it will result in an error message.
Save and Reuse Configuration
In the Admin tab, any template configurations can be saved and reused in subsequent ArcGIS Pro sessions. The configurations are stored as properties of the respective map, i.e., they are bound to a specific map. This implies that they must be saved with the project. When the map is deleted, the configurations are implicitly lost. If continuations are made on the map that conflict with the stored configurations, the affected configurations are deleted with the first access.
To create Multi Lines from edit templates:
1.Using the Create Features pane, locate and click the desired template.
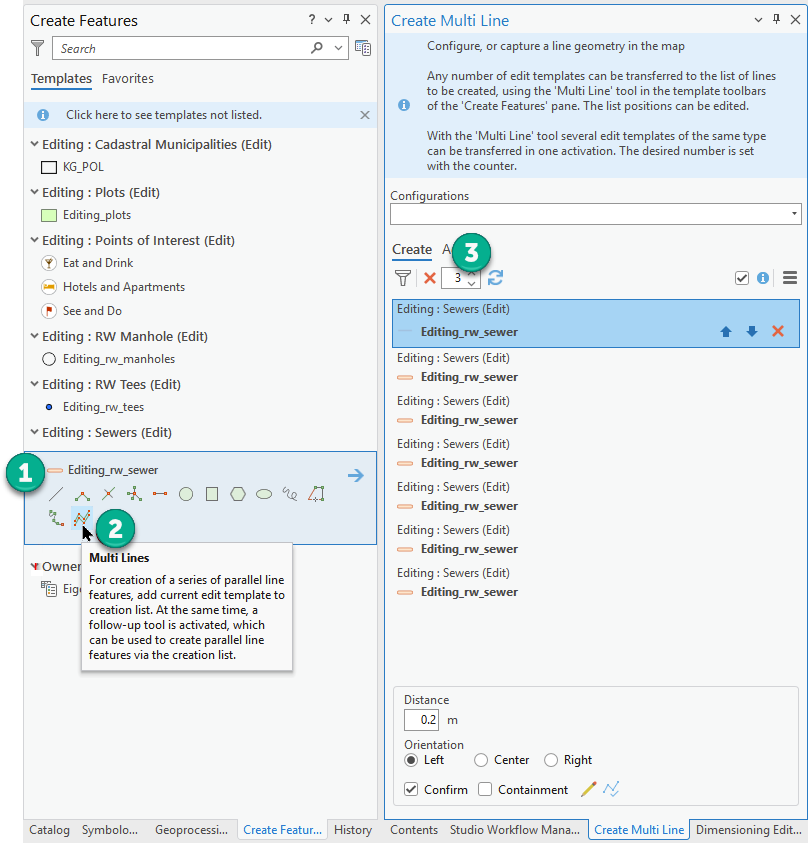
2.Click the Multi Lines icon.
3.The Create Multi Line pane opens. Modify the number selector to show the number of edit templates to use.
4.After the list of line features have been updated, draw the lines on the map using the Activate Sketch tool.
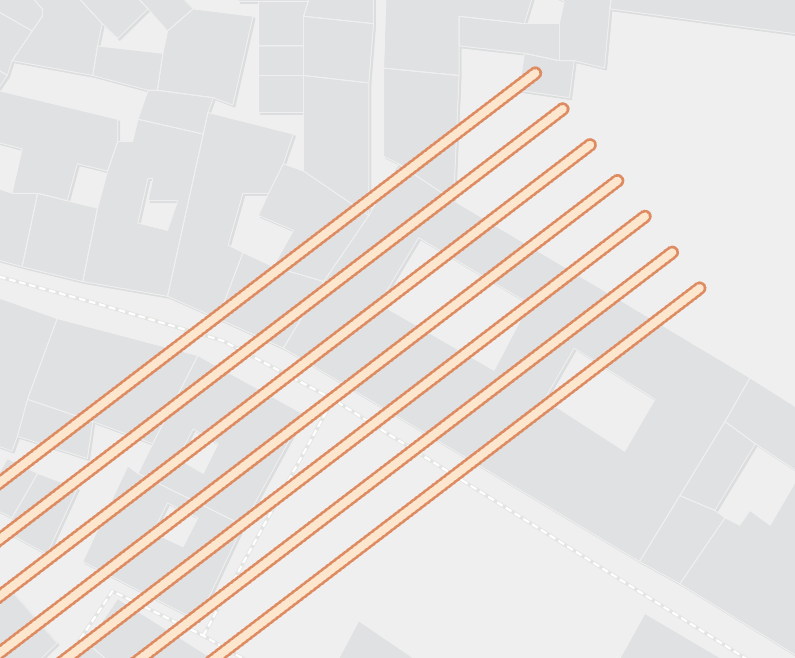
5.The result will be a stack of parallel lines.
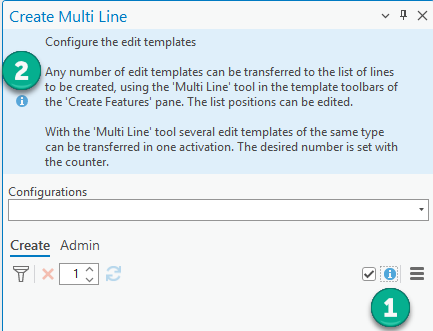
To show detailed instructions for the Create Multi LIne pane:
1.Activate the Info checkbox.
2.See the detailed instructions.
3.Toggle the Info checkbox to remove the detailed instructions.