The Workflow Manager shows all your workflows based on your logged in portal. It allows for searching, categorizing, filtering, and editing of your workflows. To open the Workflow Manager, click the Studio Workflow Manager icon ![]() .
.
Workflow Manager Interface
1.Hamburger Menu
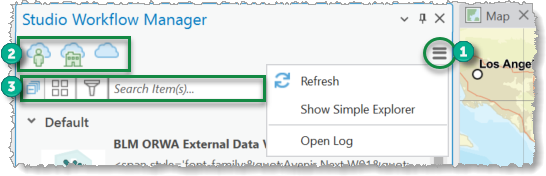
a.Refresh - Clicking this will refresh the Workflow List section.
b.Show Simple Explorer - This option shows only the workflow name in the list. If this option is not checked, the workflows will be shown in the list with an associated icon, also with a name and summary.
c.Open Log -
2.Content Selector
a.My Content ![]() - This shows the workflows associated with your account.
- This shows the workflows associated with your account.
b.My Organization ![]() - This shows all workflows on your organization's portal, not including the workflows associated with your account.
- This shows all workflows on your organization's portal, not including the workflows associated with your account.
c.All Workflows ![]() - This shows all workflows on your organization's portal, including the workflows associated with your account..
- This shows all workflows on your organization's portal, including the workflows associated with your account..
3.Filter Section
a.Collapse Group - Collapse all item groupings.
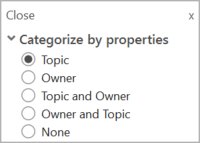
b.Categorize - This sorts the Workflow List using properties of the workflows.
c.Filter - Enter a term here to find related workflows. The search term could be any associated names, titles, summaries, topics, or tags. See Edit Studio Workflows.
d.Search - Enter any search term here. The search is performed on workflow names, topics, tags, and owners.
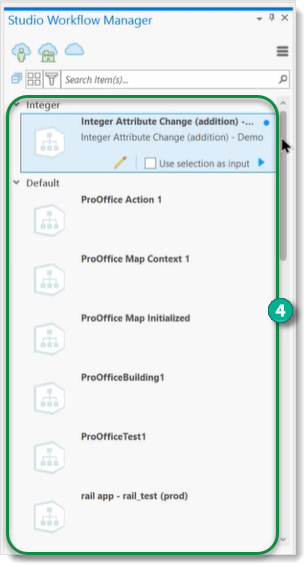
4.Workflow List - This shows a list of all of your workflows with any filters or search terms applied.
Edit Studio Workflows
To edit a workflow:
1.Open the Workflow Manager.
2.Click the desired workflow to highlight it.
3.Click the Edit icon ![]() to open the Properties window.
to open the Properties window.
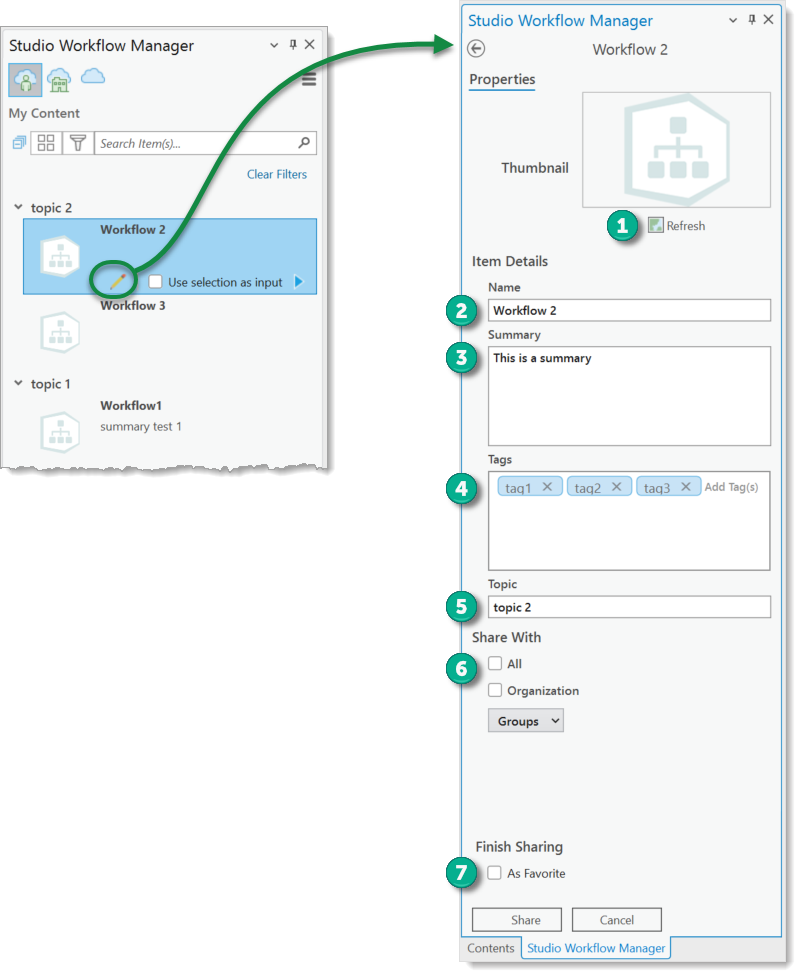
When editing a workflow in the Workflow Manager, you can perform the following edits:
1.Define/Change the thumbnail - Click Refresh to open a file explorer window. Search for a thumbnail graphic to use.
2.Name - Name the workflow. This name will show in the Workflow List and can be used in a search or filter.
3.Summary - Enter a summary of the workflow. This summary will show in the Workflow List and can be used in a search or filter.
4.Tags - Enter one or more tags related to the workflow. These tags can be used in a search or filter and offer another mechanism to delineate groups of workflows.
5.Topic - Enter a topic name related that relates to the workflow. The topic can be used for sorting workflows. See Categorize above.
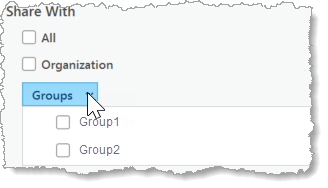
6.Sharing With options - Sharing of the modified workflow can be to the public (All) and/or just to your organization. You can also specify personal groups.
7.Share As Favorite option - Sharing as a favorite will place a link for the workflow in the Studio Workflows list (gallery) for quick access. See Studio Workflows.
Execute Studio Workflows
A workflow can be initiated directly from the Workflow List. Optionally, the workflow can be started with a selection used as input. The selection can be made via the map or the attribute table.
To execute a workflow:
1.Locate and click the workflow to run in the Workflow List.
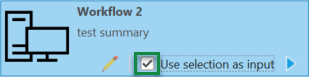
2.Optionally, if the workflow requires an input from a selection, click Use selection as input. You can make a selection either via the map or attribute table.
3.Click the play icon ![]() to launch the workflow.
to launch the workflow.
Use selection as input is currently used for a single selection. If the workflow requires the use of multiple selections, this should be designed within the Studio Workflow Designer as a selection step.