If you are building an iOS app for distribution via the App Store, you need a provisioning file and a certificate before you can use Mobile Designer to build your app. The provisioning file from Apple will have an App ID within it. You must add that ID under App Settings before you build the app.
It is possible to have subsets, that is, have a provisioning file and certificate for any app from a particular company: com.vertigis.*.
You must ensure that the App ID you enter, matches the App ID in the provisioning file.
To build an app for iOS:
1.In Mobile Designer, click Deploy to open the Deploy panel.
2.Click the Build App button.
If your app is not in the Production stage, the Build App button is not available.
3.When the Build App dialog opens, click the Choose a platform drop-down list.
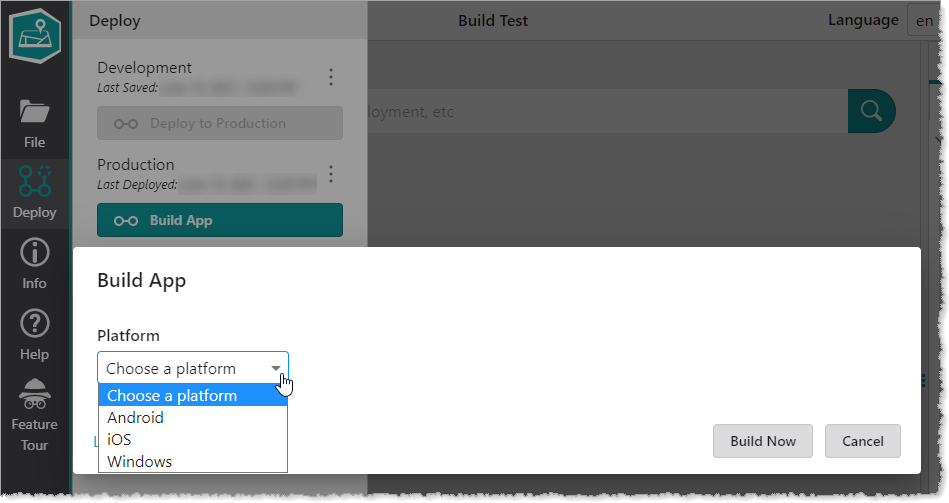
4.Select iOS in the drop-down list, and then click OK.
The iOS options appear in the Build App dialog.
The App Name, App ID and Version number that you entered in App Settings for the iOS version of the app appear above the options.
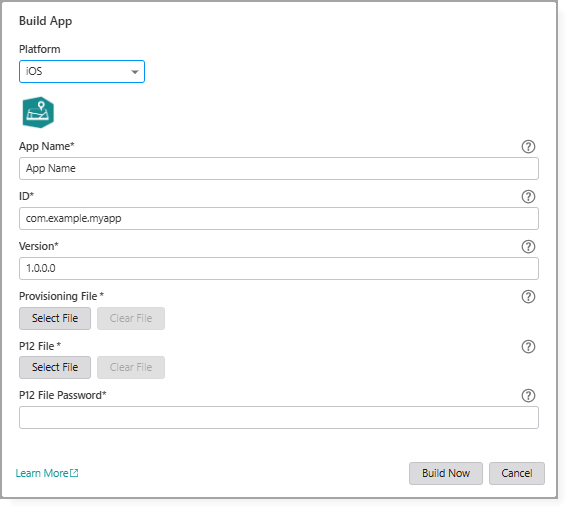
5.Configure the required settings.
6.Click Build Now.
A dialog opens to show you the status of the Build, which can take a few minutes, depending on the size of the app and its data.
When the build is complete, the dialog updates to show that the build was successful.
7.Do any of the following:
•Click Download to save the file containing the app to your computer.
•Click Show Link to display the URL to the location where the app is located.
The link appears in the dialog from where you can copy and paste it to share with others, or click the link to open a dialog where you can save the file to your computer.
The link is valid for 60 minutes and cannot be recovered once the dialog is closed.
8.Once you have the iOS app, you can distribute the app in multiple ways. For more information, see Distribute an App.