To define and use a Custom map area:
1.On your device, tap on your Mobile app icon to open the app.
2.In the taskbar, tap Map Areas.
3.At the top of the Map Areas panel, tap Add Area.
The Create Area panel appears.
4.At the top of the map, select the type of map area you want:
•Basic: The map area is a square. This is the default.
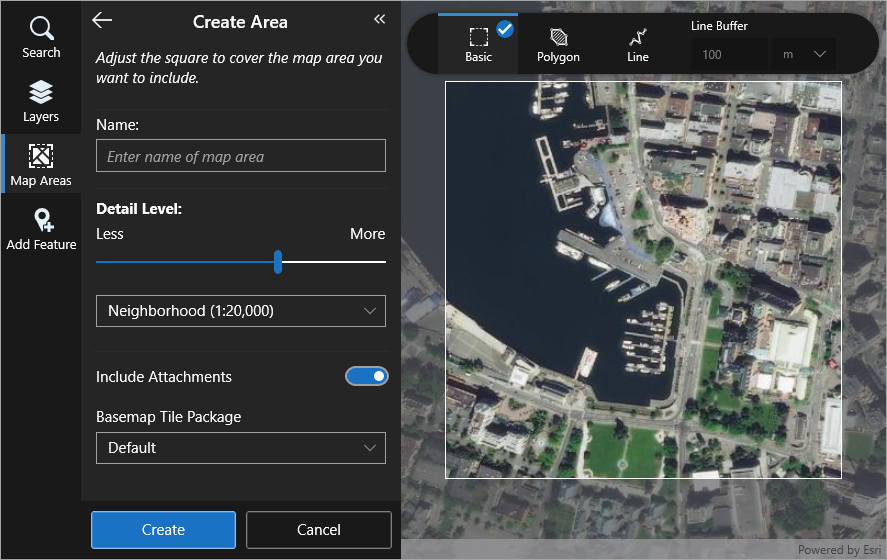
Adjust and move the map under the highlighted square until the area you want to include is inside the square.
You can zoom the map in or out (pinch or spread) and pan the map until you have the map area you want.
•Polygon: The map area is any shape you create.
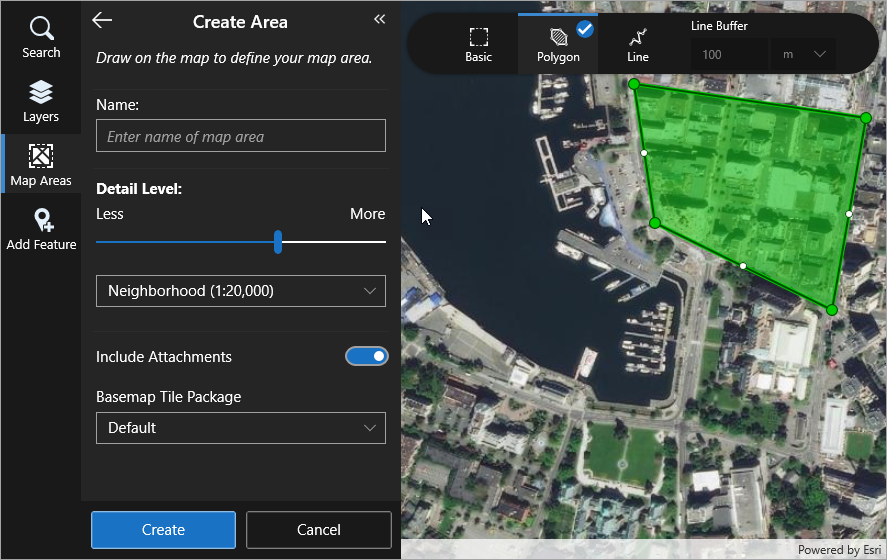
To create the shape for the map area:
•On a computer or tablet, click the map repeatedly. You can optionally double-click the same location to finish creating the shape. To modify the shape, drag any vertex.
•On a smartphone, pan and tap the map to place the next vertex at the crosshair in the middle of the map. You can optionally double-tap the same location to finish creating the shape. To modify the shape, tap any vertex, pan the map to a new location, and then tap the map.
•Line: The map area is a specified distance (buffer) around a line you draw on the map. You might want to use this mode if, for example, you are only interested in features located along a road.
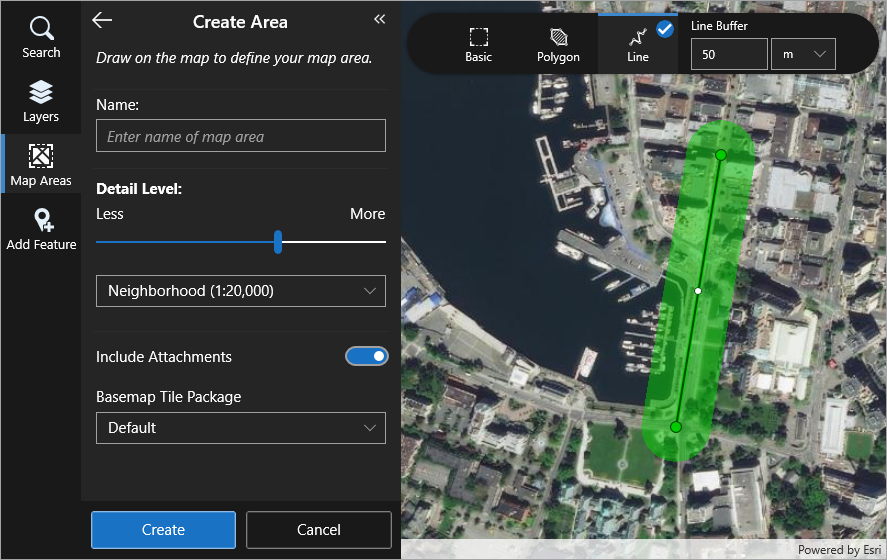
To create the line for the map area:
•On a computer or tablet, in the Line Buffer settings at the top of the map, set the distance around the line you want to include, and then click the map repeatedly to create a line for the map area. You can optionally double-click the same location to finish creating the line. To modify the line, drag any vertex.
•On a smartphone, in the Line Buffer settings at the top of the map, set the distance around the line you want to include, and then pan and tap the map to place the next vertex at the crosshair in the middle of the map. You can optionally double-tap the same location to finish creating the line. To modify the line, tap any vertex, pan the map to a new location, and then tap the map.
5.In the Name box, type in a name for your map area, for example, Inspection Area Feb 2019. This name will appear in the Map Areas list.
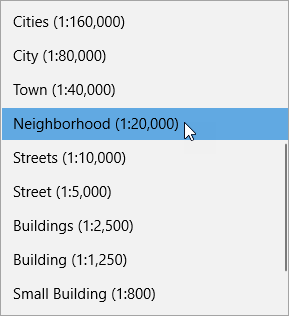
6.In the Detail Level section, move the slider to set the level of detail you want to be included in your map area.
The words indicate the detail you will be able to see if you select a particular level. For example, at Town (1:40,000), the towns in the area will be visible. The actual scale is given in brackets.
7.If you want to include any existing attachments in the Map Area, ensure that Include Attachments is on.
If there are a large number of attachments, the resulting map area will be larger and take longer to download.
8.Click Create.
The new map area is listed in the Map Area panel for you to download.
The map area is not packaged up and created until you click Download.
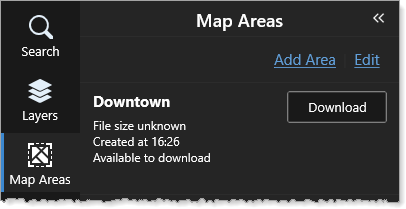
9.Click Download.
The map is first created and then it downloads and replaces the map.
Depending on the size, it may take a while for the map area to be created and downloaded.
From this point, the map area interacts in exactly the same way as an online map but the data is stored on your device until you send it back after you reconnect.
To remove a custom map area:
1.In the Map Areas panel, click Deactivate if the map area has been activated.
You can only remove a deactivated map area.
2.At the top of the Map Areas panel, click Edit.
A Remove Data button appears beside all the map areas in the list.
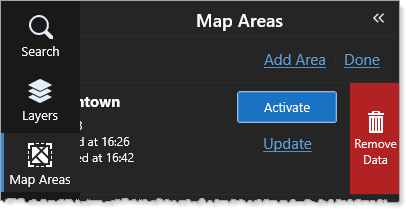
3.Click Remove Data when it appears.
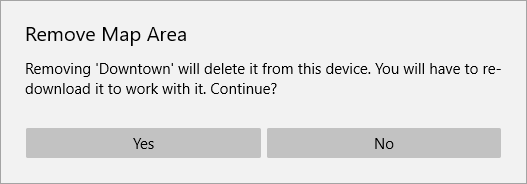
The Remove Map Area confirmation dialog opens. If you click Yes, the map data is deleted but the map remains for you to download again.
4.To remove the map area completely, click Remove Map.
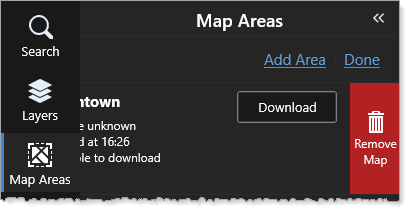
The confirmation message warns you that you will remove the map area completely.
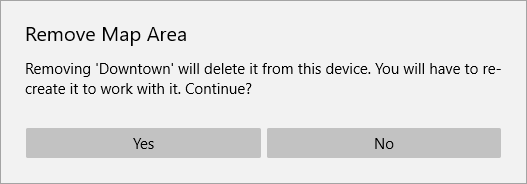
5.If you are sure you want to delete the map area, click Yes.