To change the Post Installer configuration:
1.In the Windows Start menu, start to type VertiGIS Studio Printing.
The Start menu will show the Post Installer application.
2.Click VertiGIS Studio Printing Post Installer.
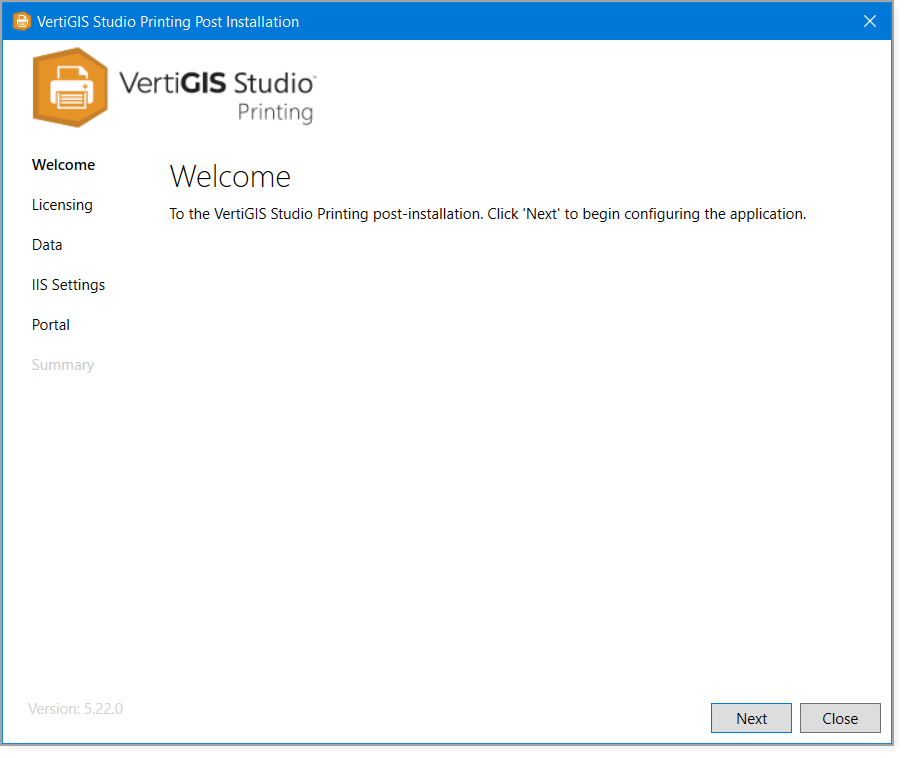
3.Click Next to move to the Licensing page.
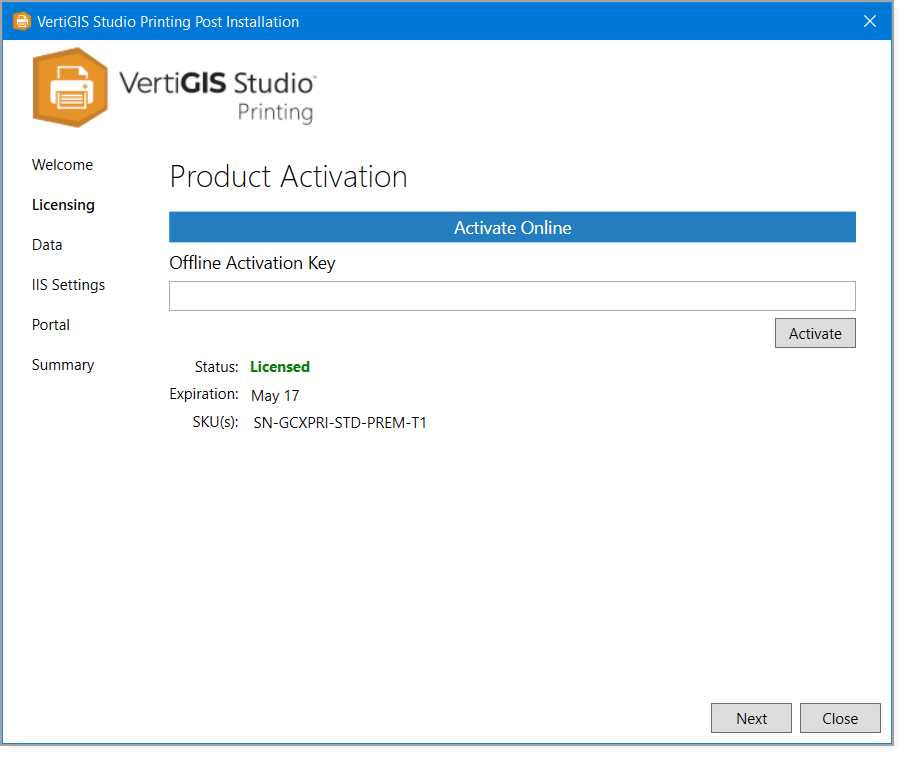
4.Choose one of the following options:
•Activate Online: To activate VertiGIS Studio Printing online, you must have a VertiGIS Studio account.
a.Click Activate Online.
b.Sign in to your VertiGIS Studio account.
c.When the activation is complete, return to the Post Installer.
•Activate Offline: To activate VertiGIS Studio Printing offline, contact Customer Support to request an activation key.
When you receive the key, open the Post Installer and click Licensing. Paste the key into the Offline Activation Key box and click Activate.
5.Click OK to close the License Status dialog box.
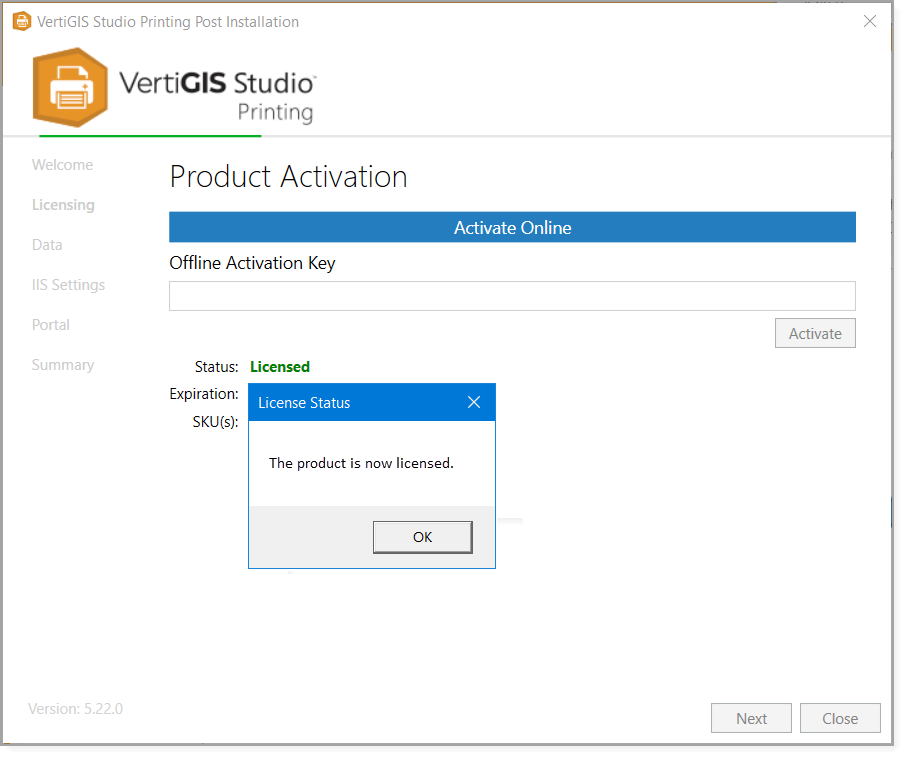
6.Click Next to advance to the Data page.
We recommend that you configure the data directory one time only, immediately after you install VertiGIS Studio Printing.
If you create print layouts and then change the data directory, you will lose access to your existing layouts.
7.Click Next to advance to the IIS Settings page.
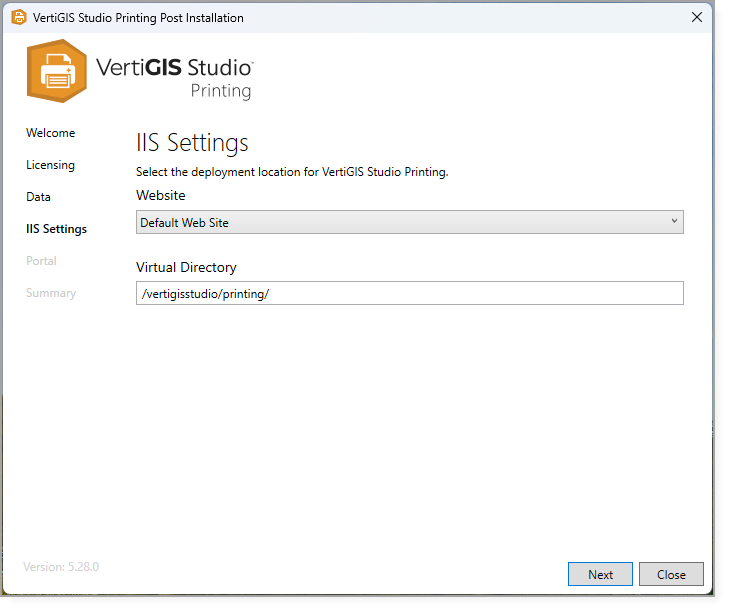
8.To use a different website, select the website from the Website drop-down list.
9.To use a different virtual directory, type the path in the Virtual Directory box.
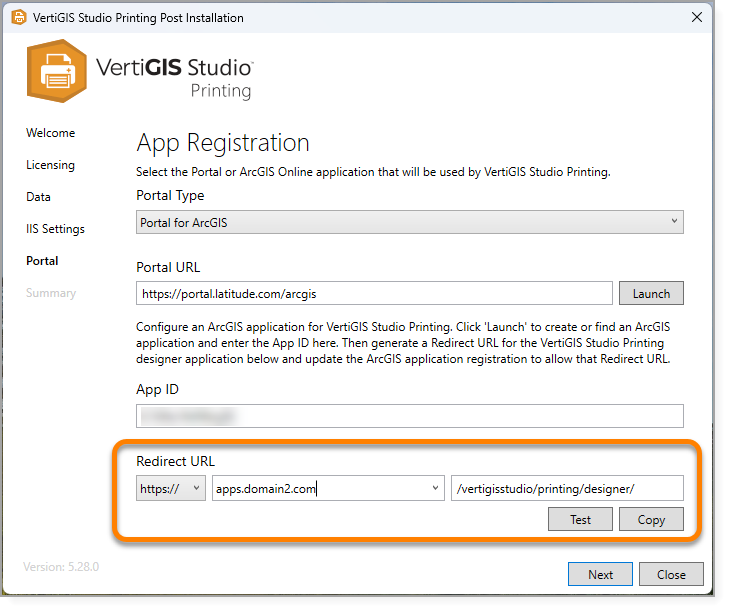
10.Click Next to advance to the Portal in the sidebar.
11.Update the Redirect URL to reflect the new IIS deployment.
You may have to update the redirect URI of the Application item in Portal for ArcGIS as well.
12.Click Close to close the Post Installer when you are finished.
