Configure The Page Info Control to Display a Date
There are two ways to add a date to a
Both methods allow you to use format strings to format dates. The table below shows some predefined format strings. To see the full list, open the properties for a Page Info or Label control and click the ![]() icon in the Actions | Text Format String box. Select a format to preview it.
icon in the Actions | Text Format String box. Select a format to preview it.
Examples of Date-Time Format Strings
|
Description |
Format String |
Example Output |
|---|---|---|
|
Format strings that show the date and time |
|
Monday, January 14, 2019 16:42:30 14 January, 2019 04:42:30 PM 2019-01-14 16:42 |
|
Format strings that show the date only |
|
01/14/2019 2019-01-14 January 14, 2019 |
|
Format strings that show the time only |
|
18:10 4:42 PM |
Use the Page Info Control to Add the Current Date
The Page Info control has an option to add the server's current date and time to the
By default, the Page Info control displays the date using the format dddd, MMMM d, yyyy, for example, Friday, February 22, 2019. You can use the control's Text Format String property to control how the date is presented and whether the time is shown.
To use the Page Info control to add the current date to a print template:
-
Add a Page Info control
 to the layout.
 -
In the Actions section of the Properties panel, select Current Date and Time from the Page Information drop-down list.
-
Click the
 icon in the Text Format String box and select the format you want to use.
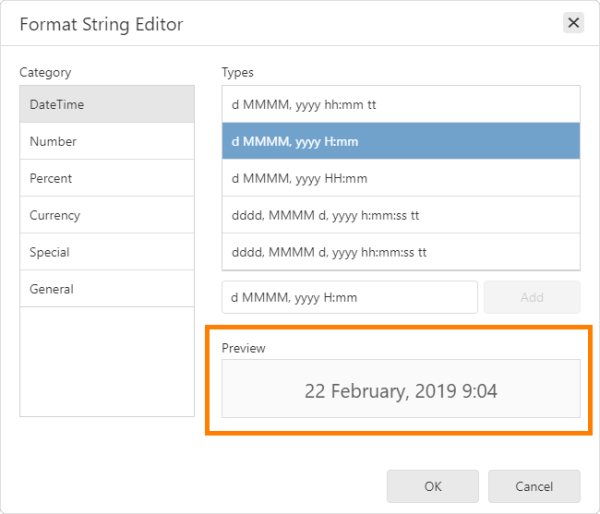
Preview of the selected format
-
Click OK.
-
Click Preview
 to verify the date and format.
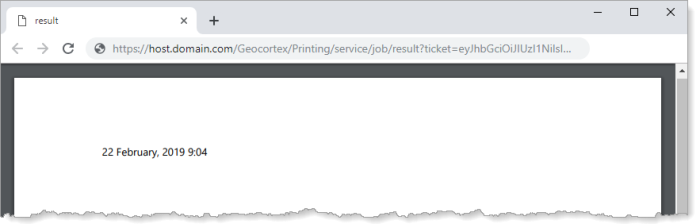
Print output showing the formatted output of a Page Info control
Use a Date-Time Function to Add a Date
Print Designer offers date-time functions that allow you to add dates to
By default, date-time functions return the date and time in the format dd/MM/yyyy hh:mm:ss, for example, 02/19/2019 16:42:30. For more information see Date-Time Functions. You can configure the control's Text Format String property to format the date. Alternatively, you can use the FormatString() function. For more information see String Functions.
To add a date to a print template:
-
Drag a Label control
 to the layout.
 -
In the Actions area of the Properties panel, click the
icon in the Expression box to open the Expression Editor.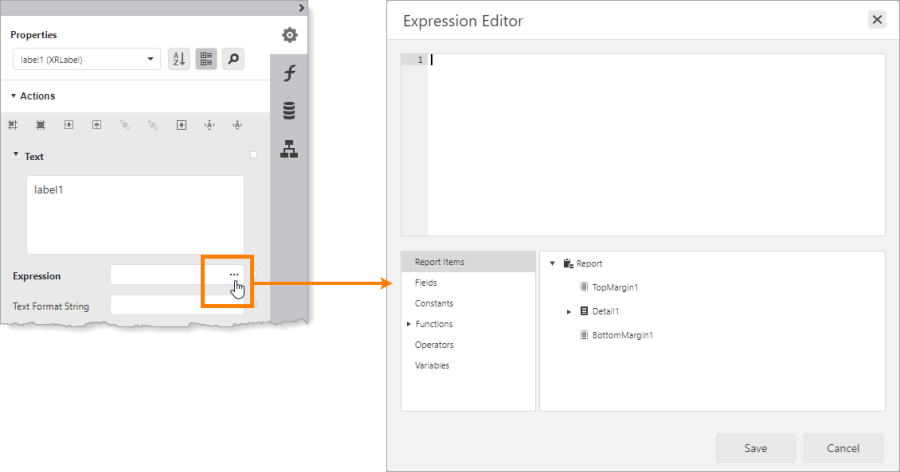
Open the Expression Editor to configure an expression for a Label control
-
In the pane at the lower left, expand Functions and select Date-time.
-
Search for a function and view its description:
-
In the search box, type the search text, for example, Now.
The center pane lists the functions with "Now" in their name.
-
Select one of the functions.
A description of the function appears in the right pane.
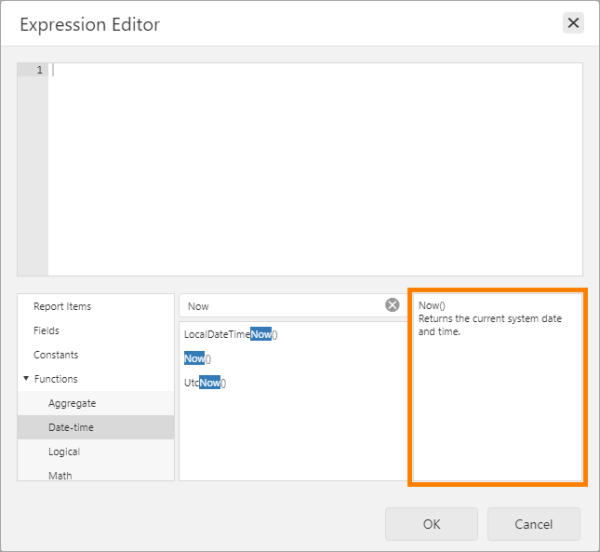
Description of the selected function
-
Click the
 icon in the search box to remove the search filter.
-
-
Double-click the date-time function that you want to use, or type it in the top pane.
The top pane shows the expression you are building. In this case, the expression consists only of the function reference.
-
Click OK.
The expression appears in the Expression box in the Properties panel and in the Label control on the design surface. The
 icon in the Label control indicates that the value will be determined when the print is generated.
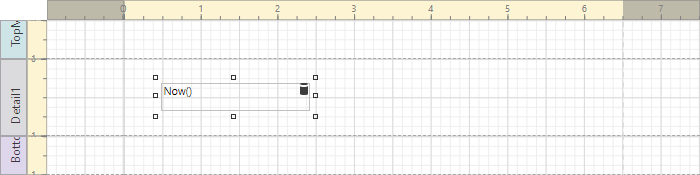
Example of a date-time function in a Label control
-
In the Properties panel, click the
icon in the Text Format String box to open the Format String Editor. -
Select the format that you want to use.
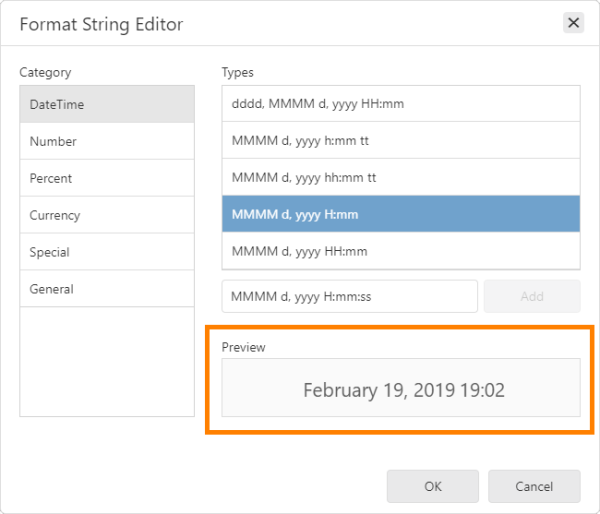
Preview of the selected format
The Text Format String property cannot format complex expressions like
'Printed ' + Today(). If you want to combine text with a date format, use the FormatString() function in the expression. For example, the following expression prints "Printed " followed by the date:FormatString('Printed {0:MMMM d, yyyy H:mm}', Now())® Printed February 19, 2019 19:02 -
Click OK.
-
Click Preview
to preview the print.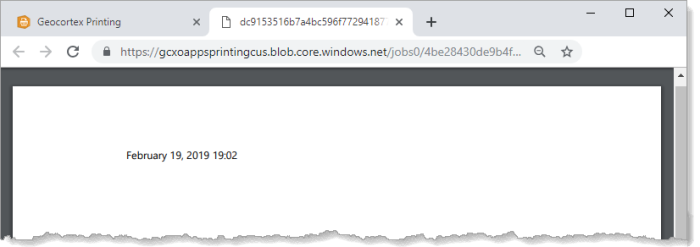
Formatted date and time in the output