VertiGIS Studio Search can either be run as a SaaS or it can be set up on premises on a server that you have administrative rights to. These setup instructions pertain to an on-premises install only. To run the SaaS version of Search, you must obtain a subscription-based license.
Installing Search on premises includes the following:
•Run the Post Installation wizard.
•Register a Web Mapping Application.
Setup Wizard
To run the Setup wizard:
1.Double-click the most recent msi file to open the Setup wizard application. Click Next to continue.

2.Read through and Accept the Terms and Conditions and click Next.

3. The default install location is C:\Program Files\VertiGIS\VertiGIS Studio Search, but you can change the location if desired. Click Next to proceed.

4.The Setup wizard requires Admin rights to install VertiGIS Studio Search on your machine.
a.Click Install.
b.Type in the admin username and password to allow the Setup wizard to install Search to the correct location on your system.
5.The wizard will proceed with copying the files onto your system. After it is complete, click Next.
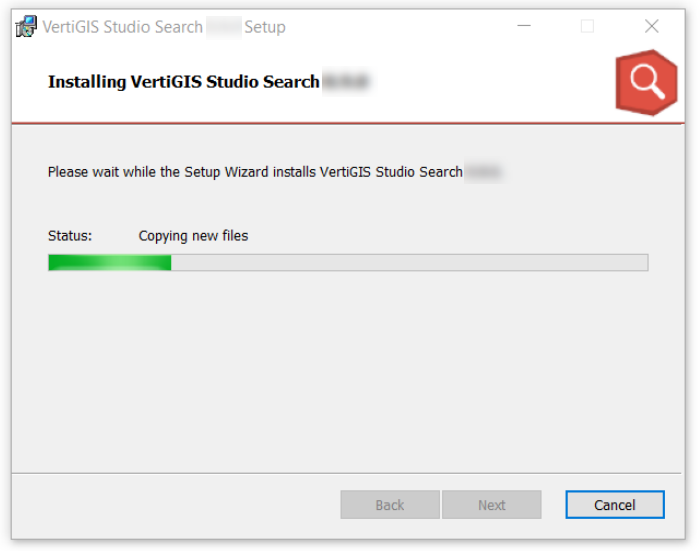
6.After the wizard has finished copying files and installing Search, click Finish to complete the installation.
To run the Post Installation wizard:
Welcome Screen
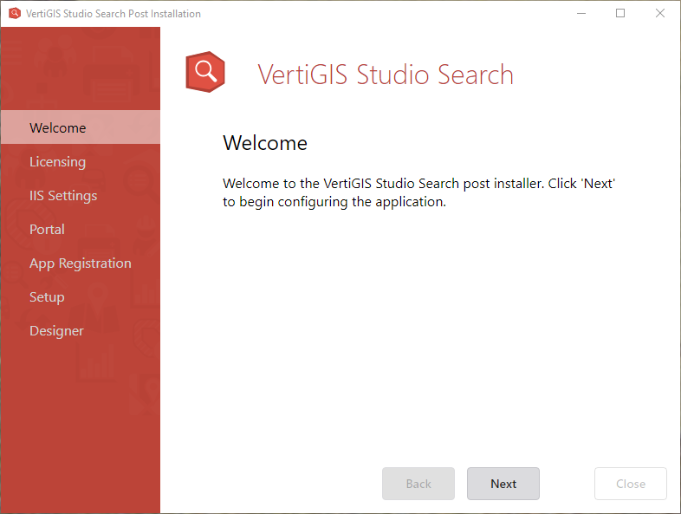
After the Setup wizard has finished installing, you will see a welcome screen to the VertiGIS Studio Search Post Installer. Click Next to proceed.
Licensing Screen
At this stage, you must have a valid license from VertiGIS.
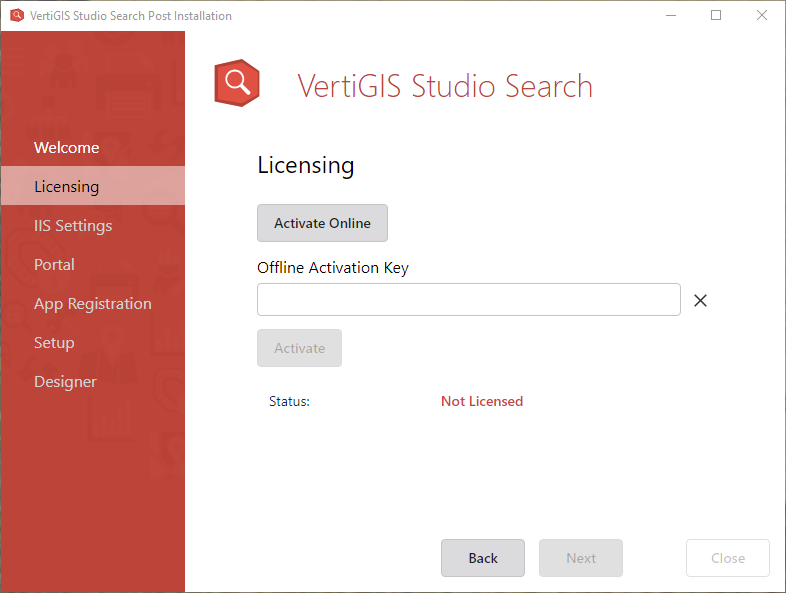
You have two options to activate your license key:
Activate Online:
1. Click Activate Online.
2.Enter your username and password and click Sign In.
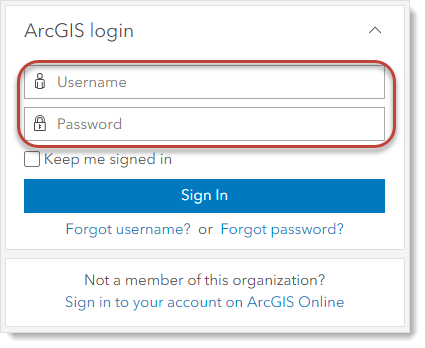
3.You may see the Terms and Conditions file, depending on previous confirmation from another VertiGIS Studio app. Read through and click I agree to proceed.
4.The window will close and your license will be activated. When Activation of the license has been successful, you will have the status as Licensed, an expiration date, and a SKU. Click Next to continue.
Activate Offline:
1.Enter the Offline Activation Key, that you have received from VertiGIS Support.
2.Click Activate. When Activation of the license has been successful, you will have the status as Licensed, an expiration date, and a SKU. Click Next to continue.
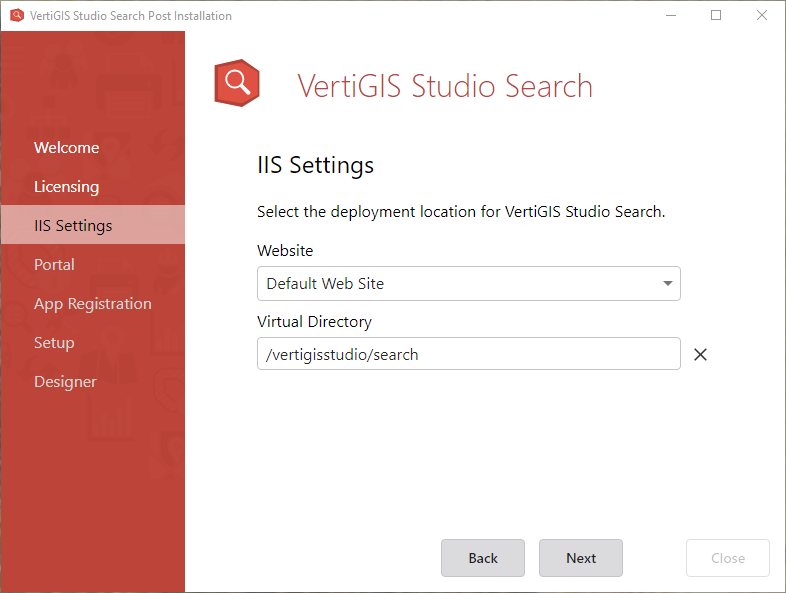
Select the deployment location for Search. Typically, you will use the defaults. But, optionally, you can use a different website and virtual directory.
In the Portal screen, you will be asked to provide a connection to your on-premises installation of ArcGIS Enterprise or ArcGIS Online.
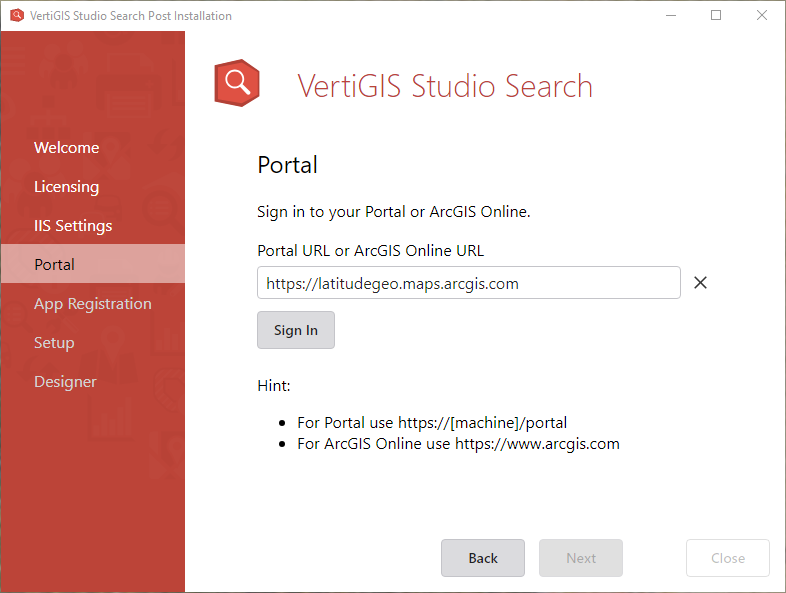
1.Enter your portal or ArcGIS Online URL and click Sign In.
For example: https://your-machine.com/portal
2.Enter your ArcGIS Enterprise or ArcGIS Online username and password, click Sign In. You will be transferred to the App Registration screen.
This screen suggests the default URLs, but you can change them as needed.
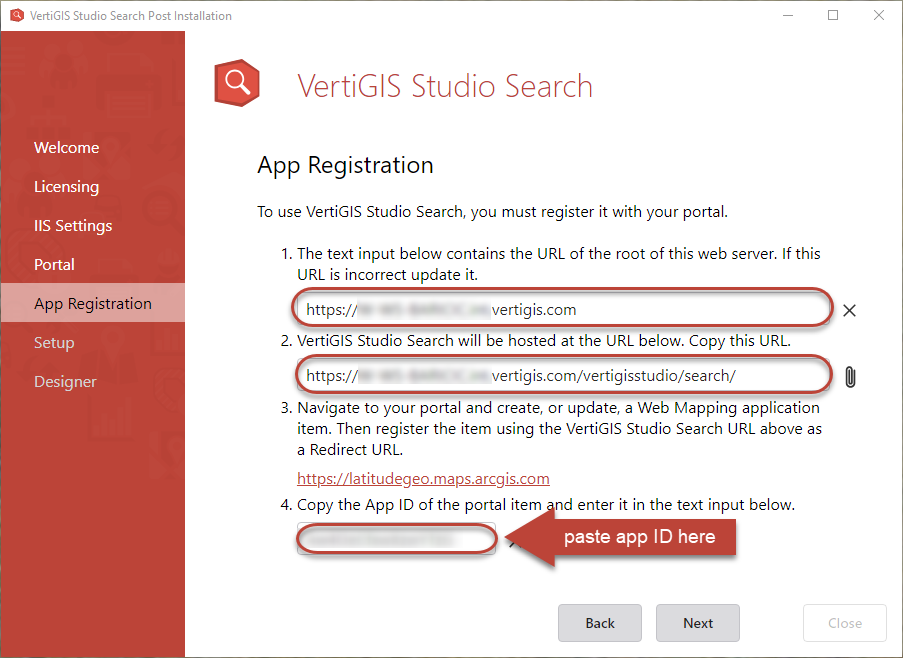
1.Verify the URL of the root of the current web-server (your machine). If it is not correct, then update the field. It should be similar to https://your-machine.com.
2.The second field is an automatically generated URL, based on the URL provided in the first field (root URL), with a compulsory addition of /vertigisstudio/search/ at the end. Please copy this URL as you will need it when registering your application.
3.Navigate to your Portal (provided in the Portal Screen above) and create a new or update an existing Web Mapping Application. To register your Web Mapping Application, please follow the steps listed here.
4.Enter the App ID from your registered Web Mapping Application in the input field provided. Click Next to continue.
Setup Screen
The setup of VertiGIS Studio Search will begin its install checklist while showing its progress.
You can also expand the details by clicking Show Details.
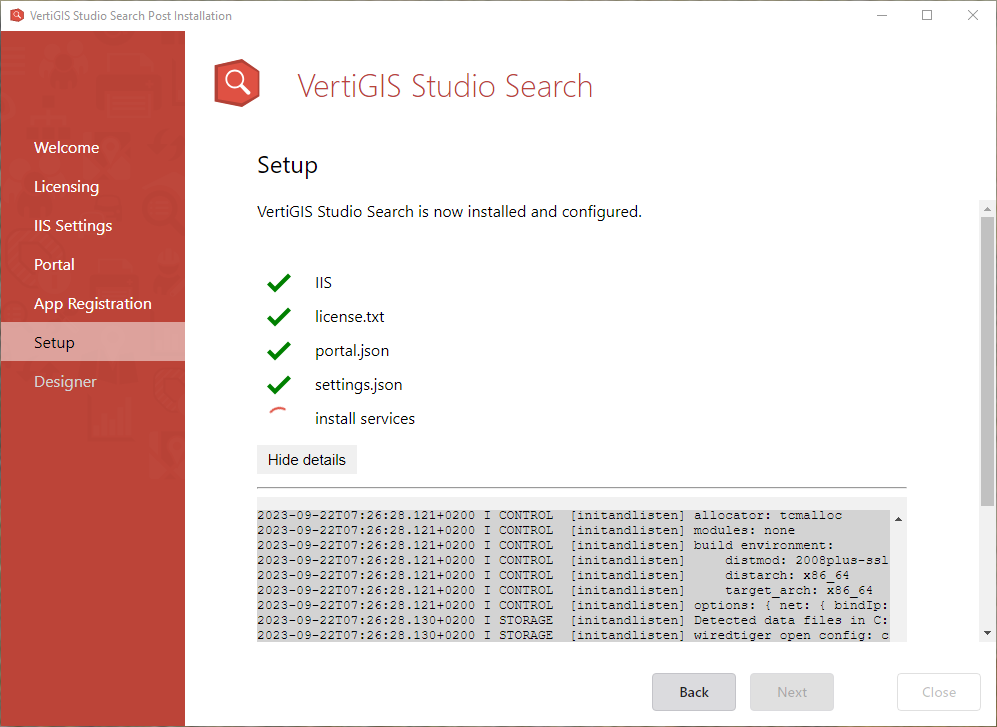
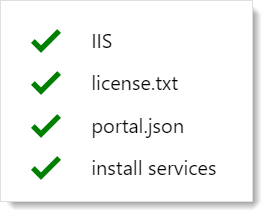
After the installation has completed, all the steps will have a green checkmark next to them.
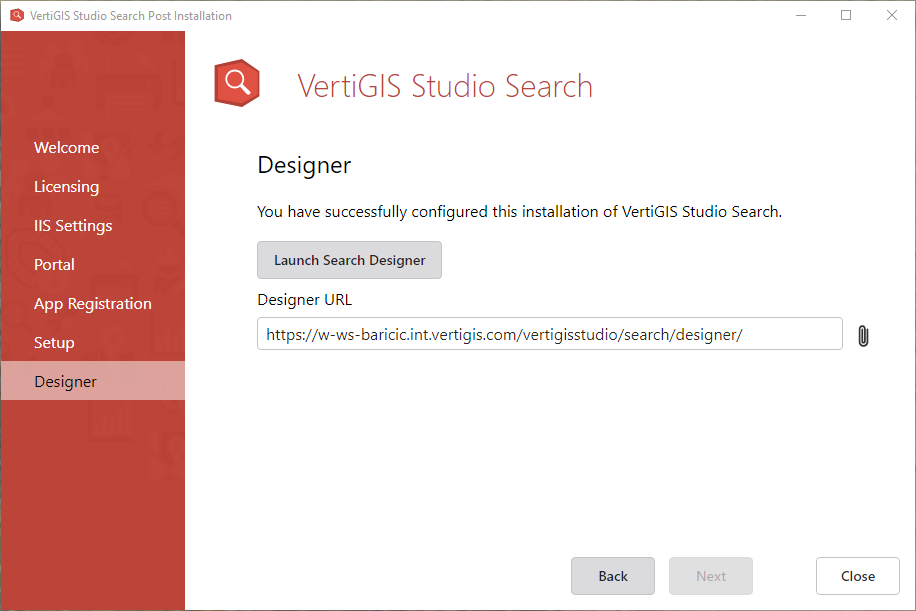
On the Designer Screen you can launch VertiGIS Studio Search Designer by either clicking Launch Search Designer or by copying the link provided in the Designer URL field and pasting it in the browser of your choice.
Click Close to close the Post installer.
If you already have an existing Web Mapping Application that you want to register with VertiGIS Studio Search, please navigate to it and follow the steps below in Register an Existing Web App.
If you do not have a Web Mapping Application that you would like to use, please create one first using How to Create a New Web App and then follow the steps in Register an Existing Web App.
For more detailed information, see ArcGIS Enterprise and ArcGIS Online.
1.Sign in to your portal.
2.Select the Content tab.
3.Select the Web Mapping Application you wish to register.
4.Go to Settings (top right corner of the screen).
5.Scroll down to the bottom of the Settings and click Register.

6.In the Redirect URI field, enter the previously copied URL from the App Registration screen.
Example: https://your-machine.com/vertigisstudio/search/
7.Click Add and the Redirect URI will be added in the field below. Multiple Redirect URIs can be added to this list.
8.Click Register and you should see the App ID, App Secret, App type, and a Redirect URI.
9.Highlight and copy the App ID. You will need this App ID in the App Registration screen, above.
1.Sign in to your portal.
2.Select the Content tab.
3.Click New Item.

4.Select Application from the tab options.
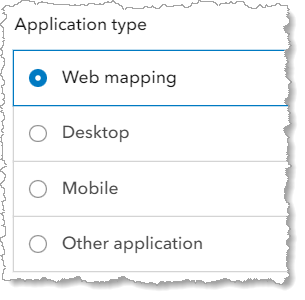
5.Select Web mapping application type.
6.In the URL field paste the Designer URL that you have previously copied from the post installer's App Registration screen and click Next.
Example: https://your-machine.com/vertigisstudio/search/
7.Enter a title for your app.
Example: My First App
8.Click Next.
9.Your new app is created. You can register your app by following the steps from Register an Existing Web App, above.
