Build an App for a Specific Platform
Before you build an app for Android, iOS, or Windows platforms, you must have done the following:
-
Given your app an App Name, App Icon, App ID and Version number in App Settings. For more information on the requirements for App ID and Version settings, see App Settings .
-
Deployed your app through all the deployment stages to the Production stage.
When you build an app for Android or iOS platforms, the result is a compiled file that contains all the information required for your app to be distributed. In the case of Windows, the result is a zip file.
If you do not want to build apps and distribute the files, you can simply use VertiGIS Studio Go to open and run your app. To do so, you need to download the correct version of VertiGIS Studio Go from the appropriate store to each device and have the appropriate ArcGIS licenses for each user.
Before you can build an app for each of the stores, you must have the following:
- Android: A KeyStore File, a KeyStore File Password, a Private Key Password and a KeyStore Alias.
- iOS: A Provisioning File, a P12 File, and a P12 Password. The provisioning file also contains the App-ID you must use when you enter information in App Settings .
- Windows: A PFX File and a PFX File Password.
See Generate a PFX File for a Windows Mobile App Build for more information.
Build an Android App
To build an app for Android:
-
In Mobile Designer, click Deploy to open the Deploy panel.
-
Click the Build App button.
If your app is not in the Production stage, the Build App button is not available. -
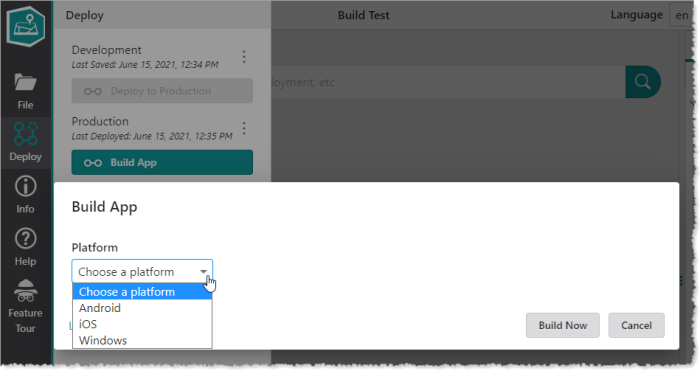
When the Build App dialog opens, click the Choose a platform drop-down list.
-
Select Android in the drop-down list, and then click OK.
The Android options appear in the Build App dialog.
The App Name, App ID and Version number that you entered in App Settings for the Android version of the app appear above the options.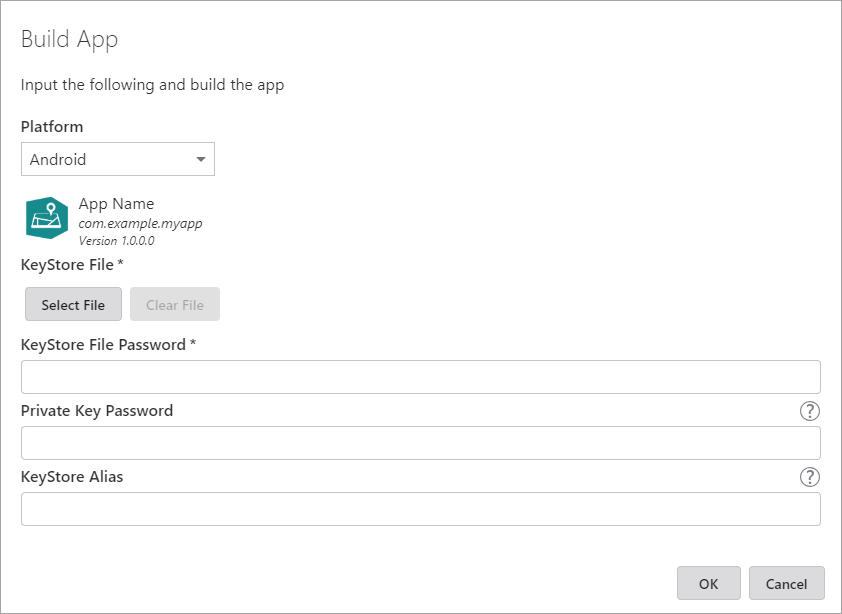
If you enable Build for Google Play Store, an Android App Bundle (.aab) file is produced, and can be submitted to the store but not sideloaded directly. Otherwise, an Android Application Package (.apk) file is produced, which can be sideloaded but cannot be submitted to the store.
- Configure the required settings.
-
Click OK.
A dialog opens to show you the status of the Build, which can take a few minutes, depending on the size of the app and its data.
When the build is complete, the dialog updates to show that the build was successful.
-
Do any of the following:
-
Click Download to save the file containing the app to your computer.
-
Click Show Link to display the URL to the location where the app build is located.
The link appears in the dialog from where you can copy and paste it to share with others, or click the link to open a dialog where you can save the file to your computer.
The link is valid for 60 minutes and cannot be recovered once the dialog is closed.
-
-
Once the file is downloaded, extract the contents to the location you want.
Once you have the Android app, you can distribute the app in multiple ways. For more information, see Distribute an App.
Build an iOS App
It is possible to have subsets, that is, have a provisioning file and certificate for any app from a particular company: com.vertigis.*.
You must ensure that the App ID you enter, matches the App ID in the provisioning file.
To build an app for iOS:
-
In Mobile Designer, click Deploy to open the Deploy panel.
-
Click the Build App button.
If your app is not in the Production stage, the Build App button is not available. -
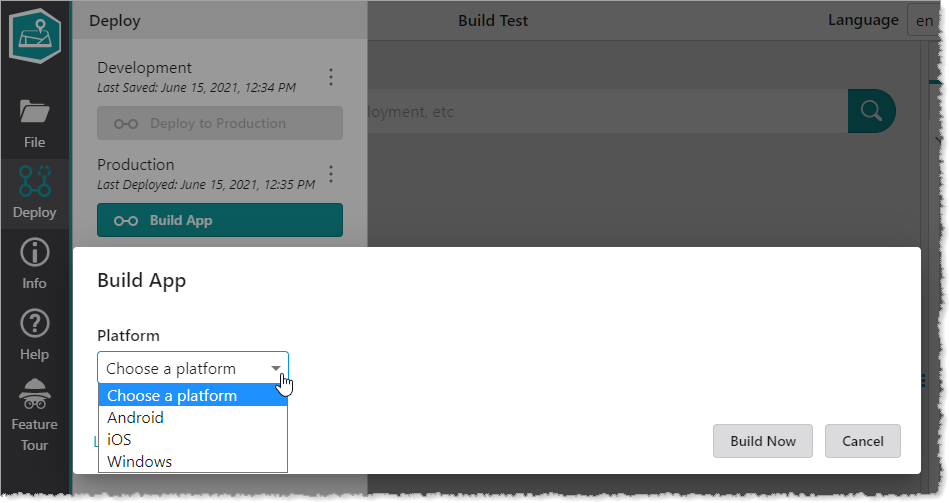
When the Build App dialog opens, click the Choose a platform drop-down list.
-
Select iOS in the drop-down list, and then click OK.
The iOS options appear in the Build App dialog.
The App Name, App ID and Version number that you entered in App Settings for the iOS version of the app appear above the options.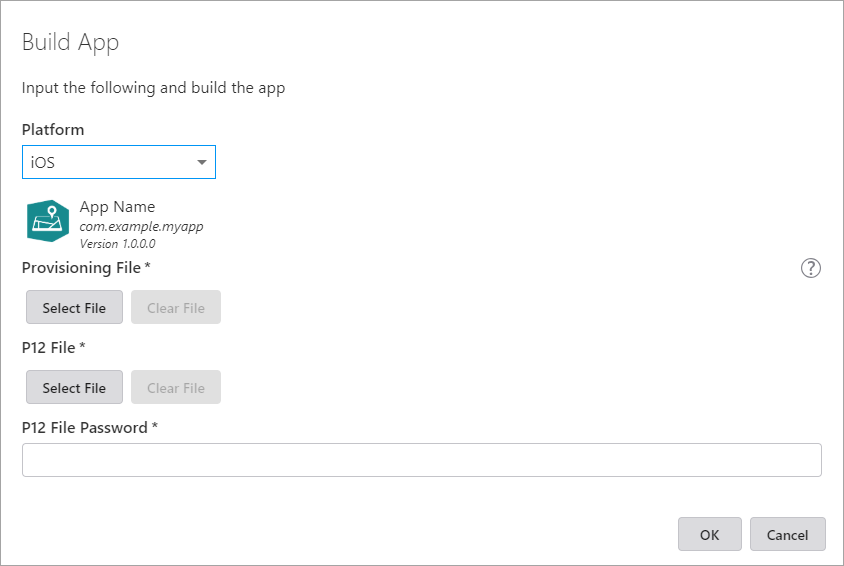
- Configure the required settings.
-
Click Build Now.
A dialog opens to show you the status of the Build, which can take a few minutes, depending on the size of the app and its data.
When the build is complete, the dialog updates to show that the build was successful.
-
Do any of the following:
-
Click Download to save the file containing the app to your computer.
-
Click Show Link to display the URL to the location where the app is located.
The link appears in the dialog from where you can copy and paste it to share with others, or click the link to open a dialog where you can save the file to your computer.
The link is valid for 60 minutes and cannot be recovered once the dialog is closed.
-
-
Once you have the iOS app, you can distribute the app in multiple ways. For more information, see Distribute an App.
Build and Install a Windows App
To build an app for Windows:
-
In Mobile Designer, click Deploy to open the Deploy panel.
-
Click the Build App button.
If your app is not in the Production stage, the Build App button will not be available. -
When the Build App dialog opens, click the Choose a platform drop-down list.
-
Select Windows in the drop-down list, and then click OK.
The Windows options appear in the Build App dialog.
The App Name, App ID and Version number that you entered in App Settings for the Windows version of the app appear above the options.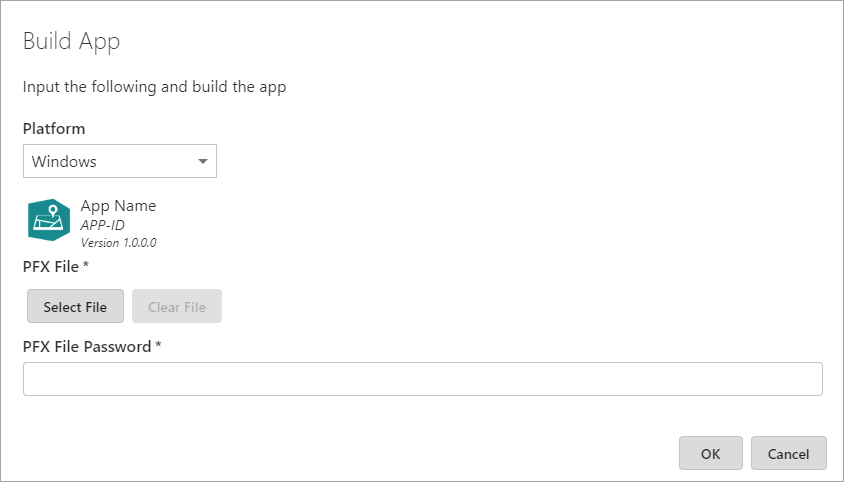
If you enable Build for Microsoft Store, the Publisher Display Name and Publisher IDsettings replace the PFX File and PFX File Password settings.
- Configure the required settings.
-
Click Build Now.
A dialog opens to show you the status of the Build, which can take a few minutes, depending on the size of the app and it's data.
When the build is complete, the dialog updates to show that the build was successful.
-
Do one of the following:
-
Click Download to save a zip file containing the app to your computer.
-
Click Show Link to display the URL to the location where the app build is located.
The link appears in the dialog, where you can copy and paste it to share with others, or click the link to open a dialog where you can save the zip file to your computer.
When the link is sent to others, they can save and extract the same zip file on their computer.
The link is valid for 60 minutes and cannot be recovered once the dialog is closed.
-
-
Once the zip file is downloaded, extract the contents to the location you want.
To install your app:
-
Navigate to the folder where you extracted the zipped app.
-
To begin the installation, double-click the VertiGISStudio.Mobile.Viewer.appxbundle file.
-
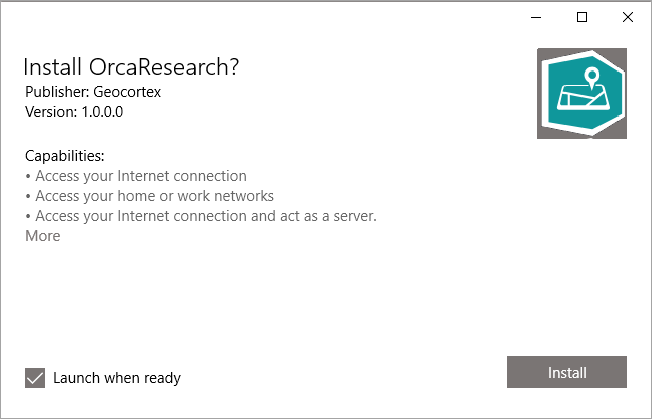
When the Install [Name-of-App]? dialog opens, click Install.
The Request to access your precise location opens.
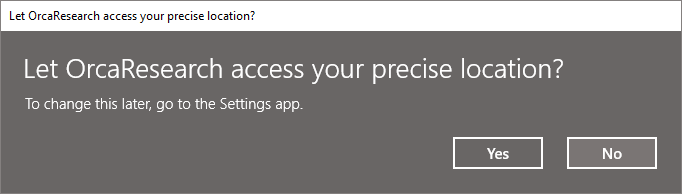
-
Click Yes.
The app opens. You may be asked to sign in if the app is secured.